Our dogs have been spending a lot of time in the backyard heat playing this summer and I wanted a way to quickly check in on them to make sure they’re OK — ideally without me having to go outside myself!
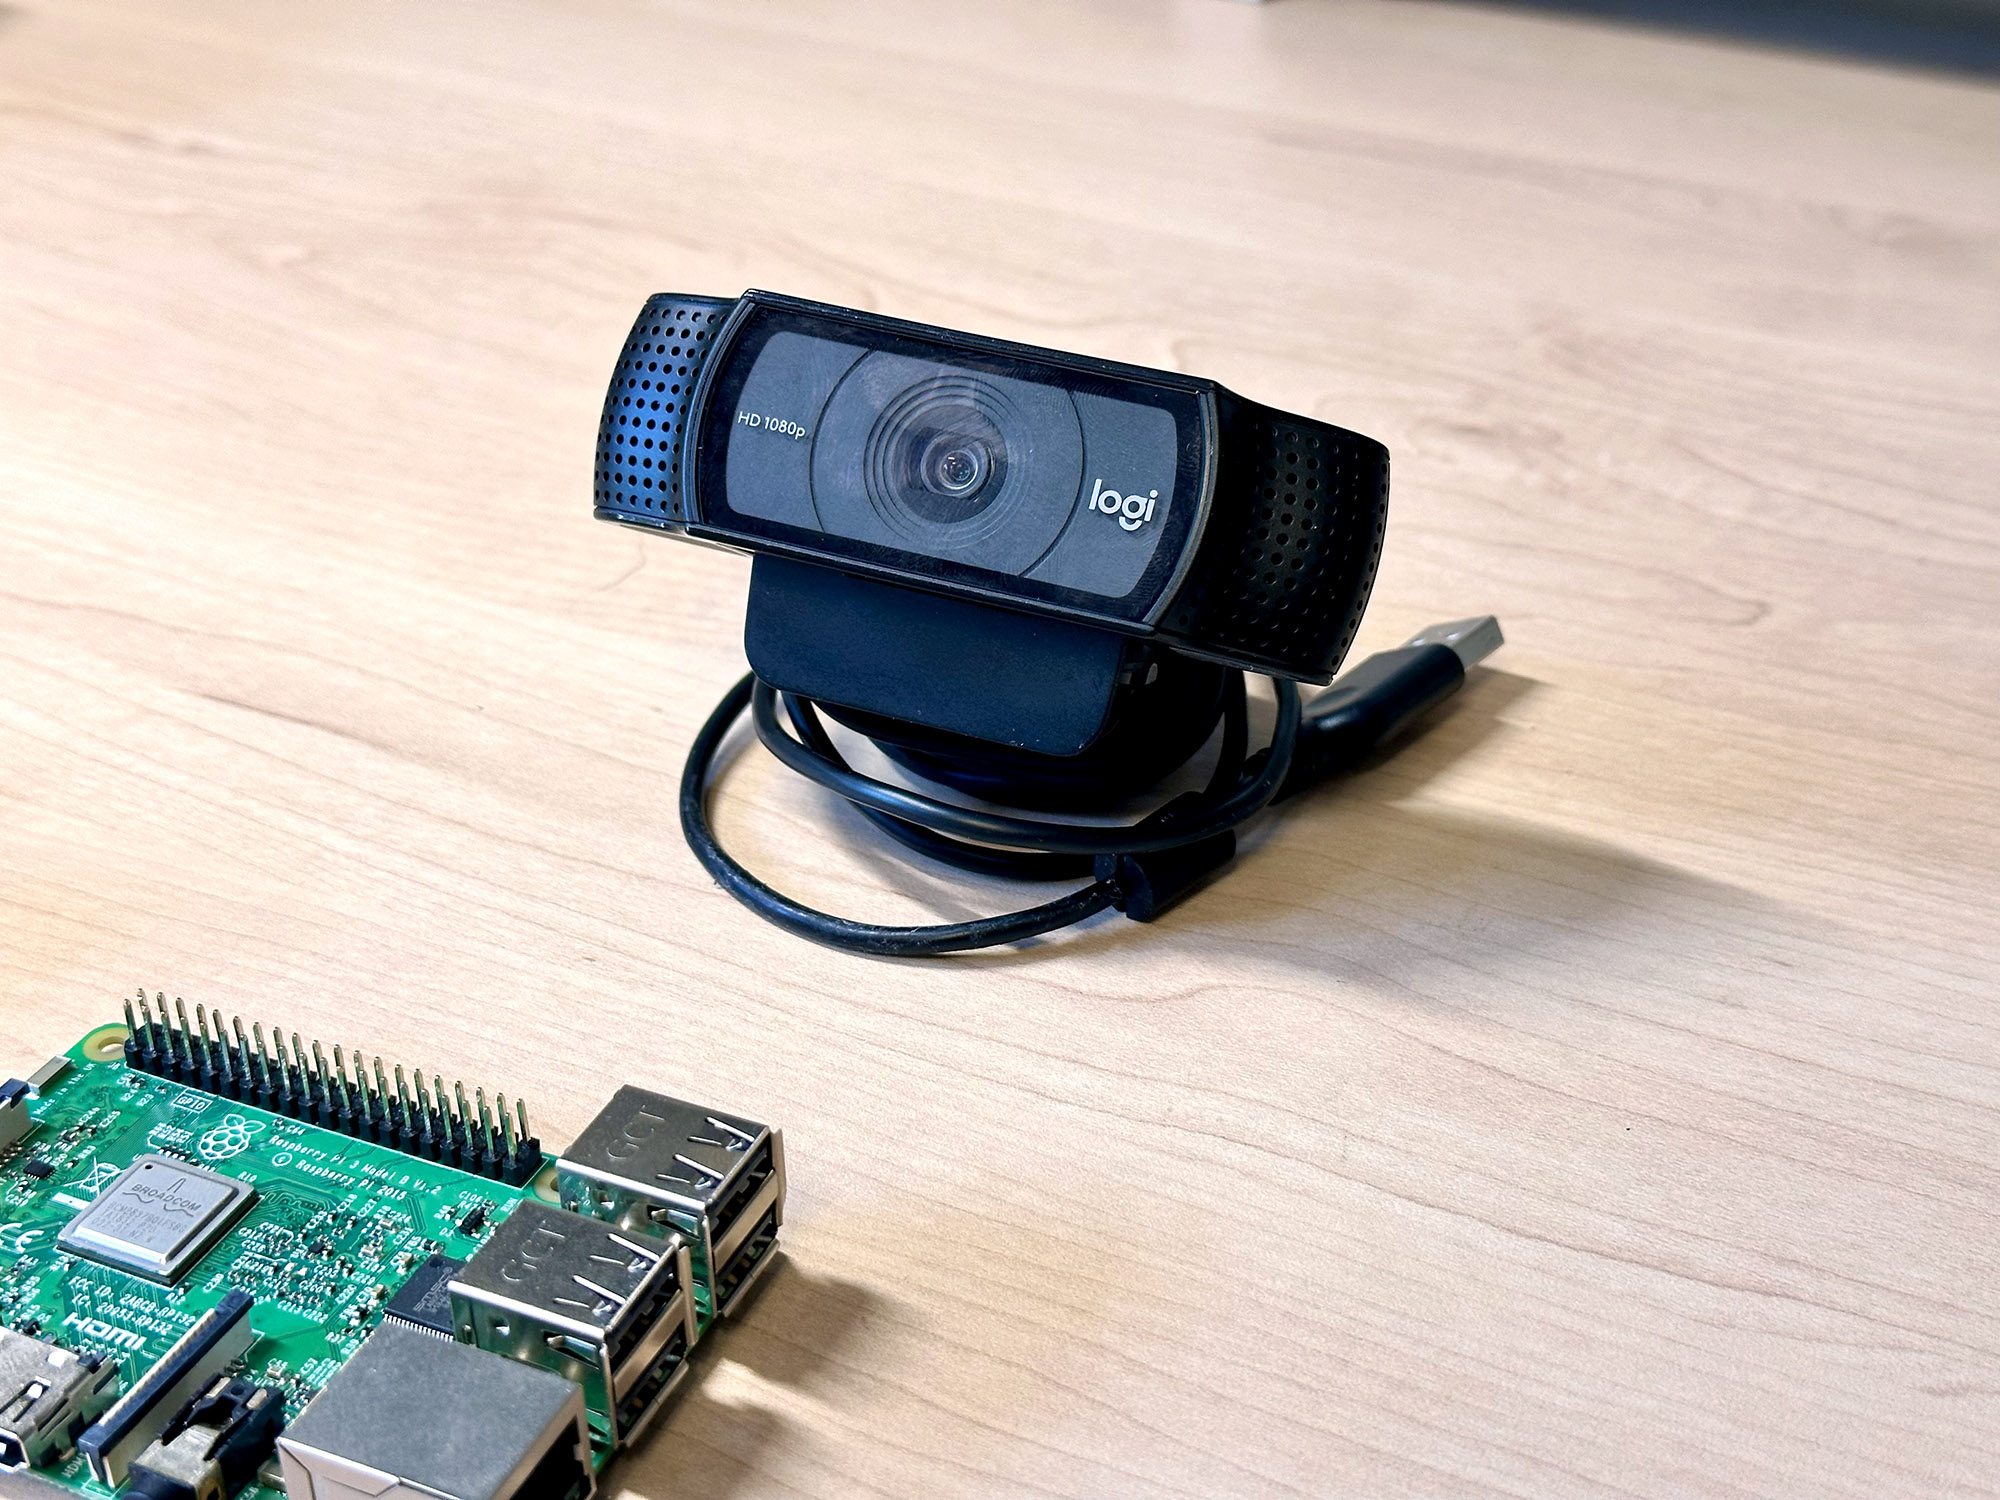
I decided to set up an old COVID-era USB webcam and a Raspberry Pi to make this possible.
The old Pi needed to be transformed into a webcam server that could deliver a video stream, over HTTP, from the USB webcam to any device on the local network.
This is a really simple set of requirements. We don’t need any video recording (to disk) or anything motion-activated. We just need a simple, real-time video stream over the network.
…One Problem:
While there are many Raspberry Pi tutorials on how to set up a streaming IP camera server on your local network, most involve installing motionEyeOS (A variant of Raspberry Pi OS).
MotionEyeOS was a good solution, but no more. As easy as installing Raspberry Pi OS, you could simply install motionEyeOS and have a full-blown video surveillance system.
But now, if you want a video surveillance system, you need to install and configure everything yourself, including motion.
This is a tutorial on how to stream a USB webcam over the local network without motionEyeOS and on any Raspberry Pi with WiFi. Even the Pi Zero W!
Let’s get started!
Goals
- Supports any Raspberry Pi that has WiFi. This includes the Pi Zero W, Zero 2W, 3b+, Pi 4, etc. The original Pi Zero W (2017 version) is not recommended as you’ll probably have to operate it at a lower resolution.
- Using latest version of Raspberry Pi OS (Bullseye), not motionEyeOS
- Stream footage over home network or remotely over the Internet
- Real-time streaming only! I’m not looking to record videos so we’ll be turning off movie capture to prevent filling up the SD Card.
- Completely headless install – Connecting a keyboard, mouse and display to the Raspberry PI is not necessary.

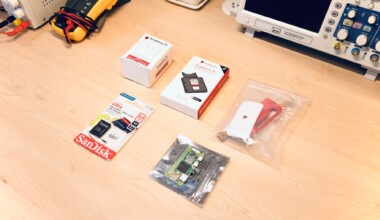
Materials
- I’m using an old Raspberry Pi 3b+ I had on hand from a past project. You can follow along using any Raspberry Pi that has WiFi!
- Micro-USB Power Supply (Opt for USB-C if using a Pi 4)
- microSD Card (At least 8GB)
- A USB webcam. I’m using a Logitech HD Pro Webcam C920 that I bought during COVID and no longer need.
- If you’re using the smaller Raspberry Pi Zero W or 2W, you’ll need to purchase a micro USB adapter like this one because the Pi Zero boards do not have a full-size USB port.
- You’ll need a way to write to the microSD card. Some laptops support inserting SD cards directly and for others, you will need to buy an SD Card Reader such as this one or this USB-C alternative.
Flashing the SD Card
- Download and Install the Raspberry PI Imager
- Next, choose the desired operating system:


- Insert and select your SD Card under “Storage”


- Click the settings icon

- Choose a username and password for logging into your Pi and enter your WiFi credentials:

- Click on ‘Write’ and wait for your SD Card to be written. You’re all set!

Static IP Configuration (Recommended)

Logging into the Pi over SSH
Open your Terminal and connect to the Pi either by using the hostname you configured before flashing the SD Card or by using the IP address of the Pi (found above in your router)
$ ssh username@hostname.localor using the IP address you found in the router. For me this corresponded to:
$ ssh username@192.168.20.113
Update your Pi & Install Motion
At the prompt enter these two commands:
$ sudo apt update && sudo apt full-upgrade -y
$ sudo apt-get install motion -y
Verify that your USB Webcam was Detected
Next enter lsusb at the prompt. We want to make sure our USB webcam was detected:

Configure Motion for IP Streaming
If using a Pi Zero W (2017 Model) start with a lower resolution such as 640 x 480
Motion is configured in a configuration profile . To edit the file in the nano text editor:
$ sudo nano /etc/motion/motion.confUpdate your configuration file with the following modifications:
daemon on
width 1280
height 720
movie_output to off
stream_localhost off
stream_maxrate 90
Sample motion.conf file:
Start the Motion Daemon Manually
To start Motion use the command sudo motion

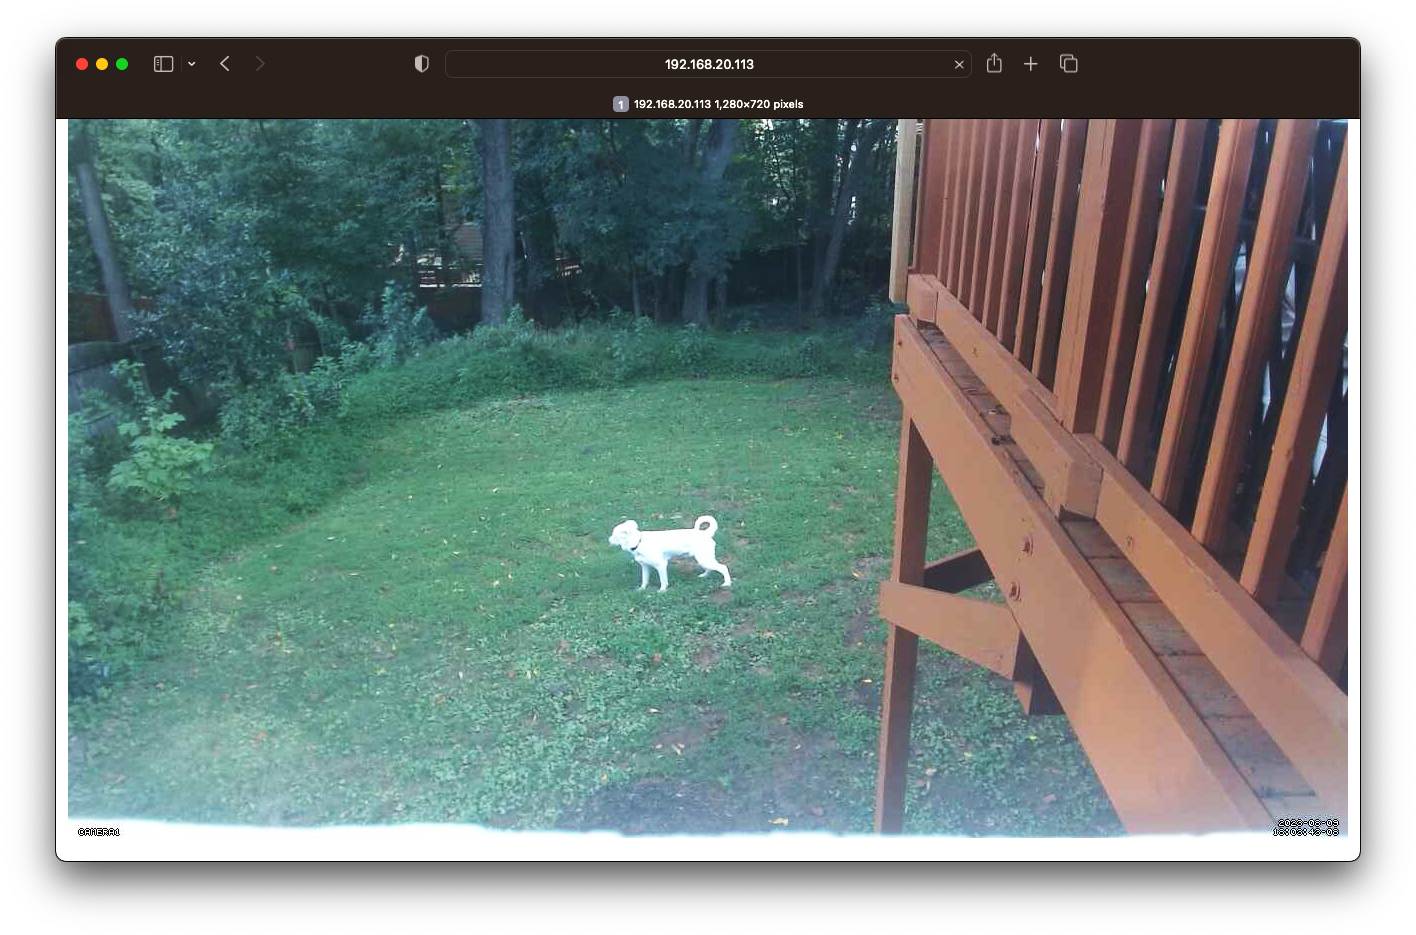
Open the Stream in Your Browser
In your favorite browser, either access the webcam server using the IP address or the hostname. The default port is 8081, and this can be changed in your motion.conf file.
Enter the following in your browser bar:
http://192.168.20.113:8081
or if you prefer,
http://your-hostname.local:8081

How to Start Motion Automatically
There are multiple ways to configure Motion to run automatically when your Pi boots up. I think personally the crontab approach is the simplest to set up:
$ sudo crontab -eAnd add the following line to the bottom:
@reboot /usr/bin/motion -b
Finally, reboot your Pi
$ sudo rebootEnjoy!
I recommend playing with the configuration file if the feed is too laggy. Start with lowering the framerate and/or resolution. Some smaller resolutions to try: 800×600, 640×480, etc. You can also try to bump the resolution up to 1080p (1920 x 1080) if everything is running smoothly!
Was this helpful? Any corrections? Please let me know in the comments!