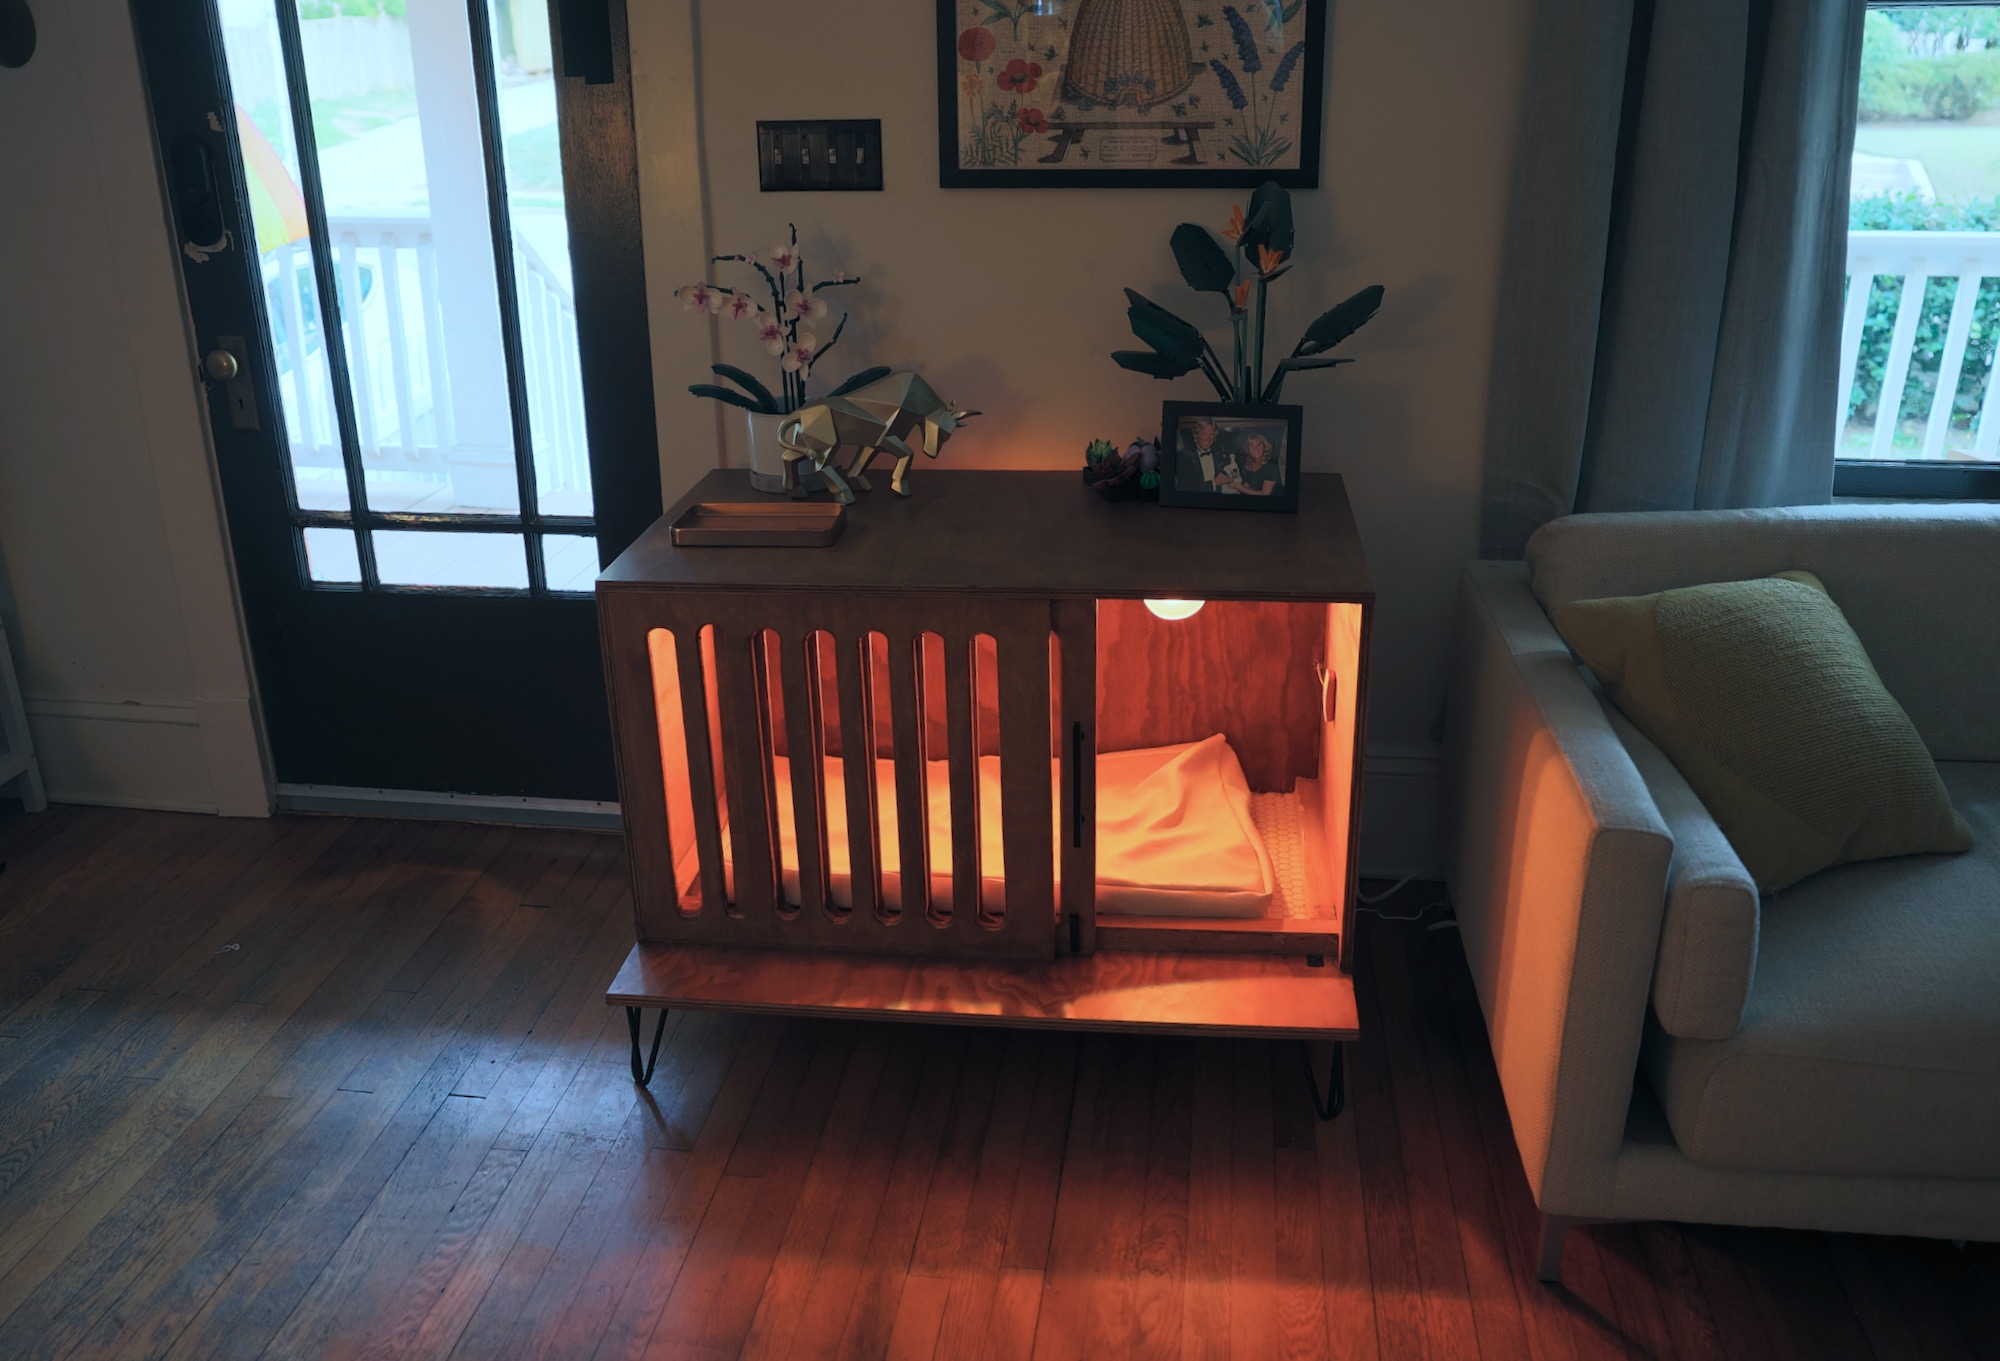
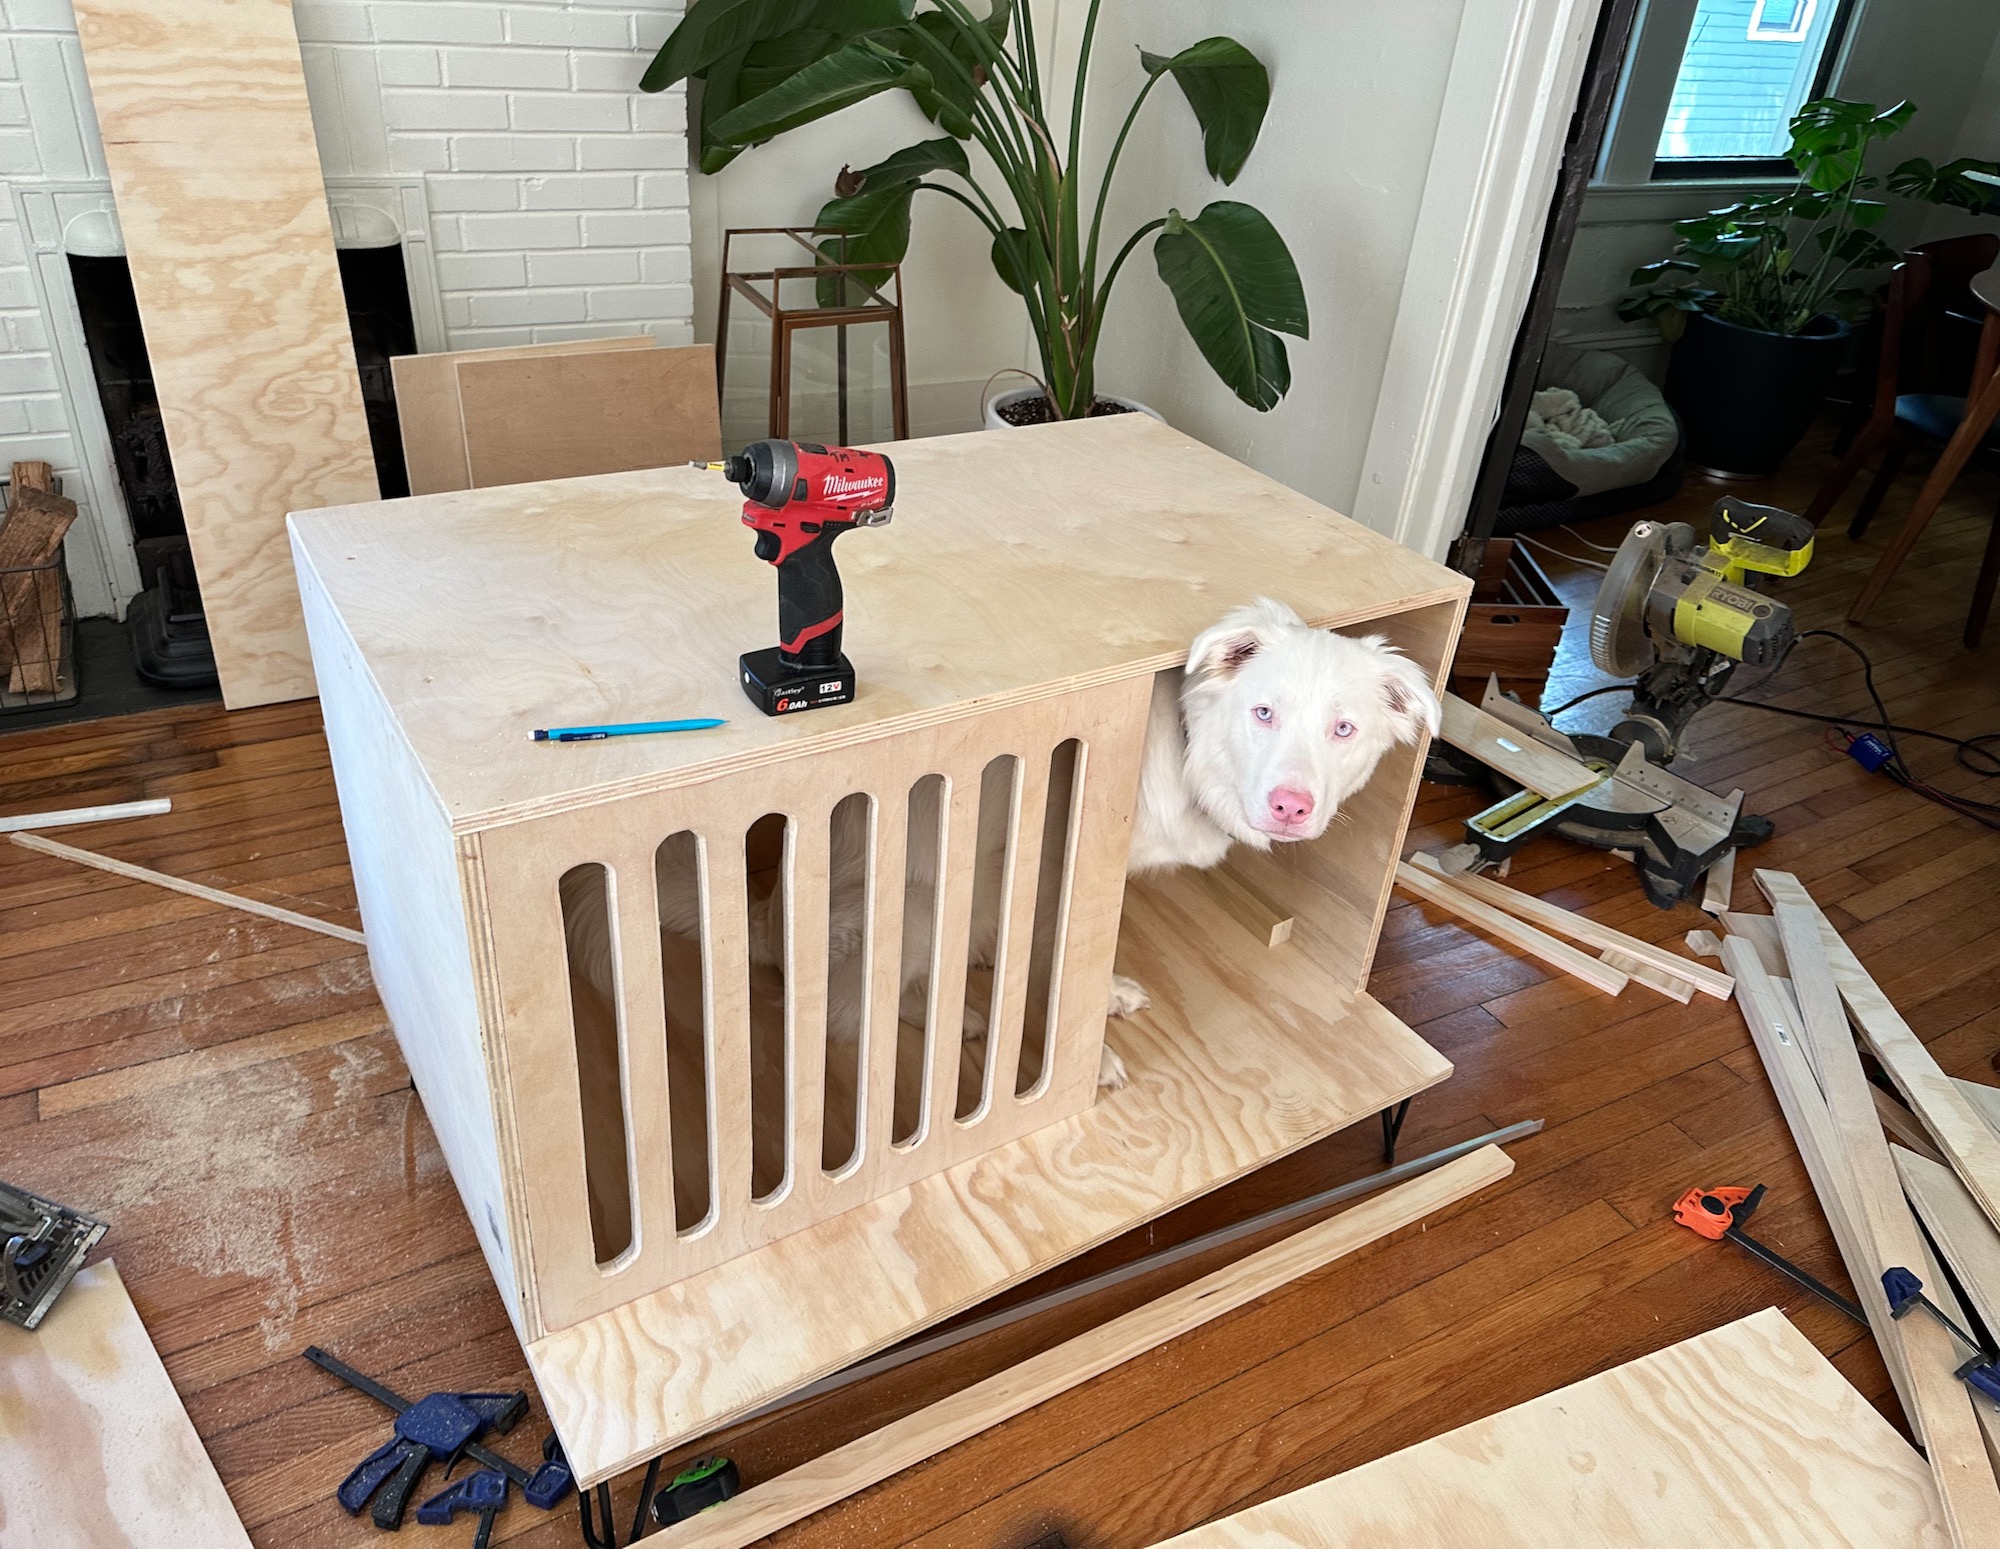
We built a dog house for our dog Goose and I wanted to be able to check in on him whenever (and from wherever) we wanted. We decided we needed to make a small, wireless, low-light camera to mount inside the dog house that could stream a video feed over the local network!
This is how to create a low-light streaming IP camera using a Raspberry Pi Zero 2 W and the NoIR v2 Pi Camera Module. The NoIR camera lacks the standard IR filter and is better in low light, especially when if you want to use an IR illuminator for nightvision.
Most tutorials for security/web camera setups like this involve setting up motionEyeOS, which is no longer maintained. This tutorial gives you a solution that is not dependent on installing motionEyeOS
Let’s get started!
🏡 The Dog House
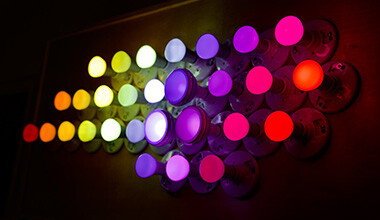
We built a custom dog house complete with LED lighting (3x old Phillips Hue Bloom Lights and an RGBWW Strip underneath):
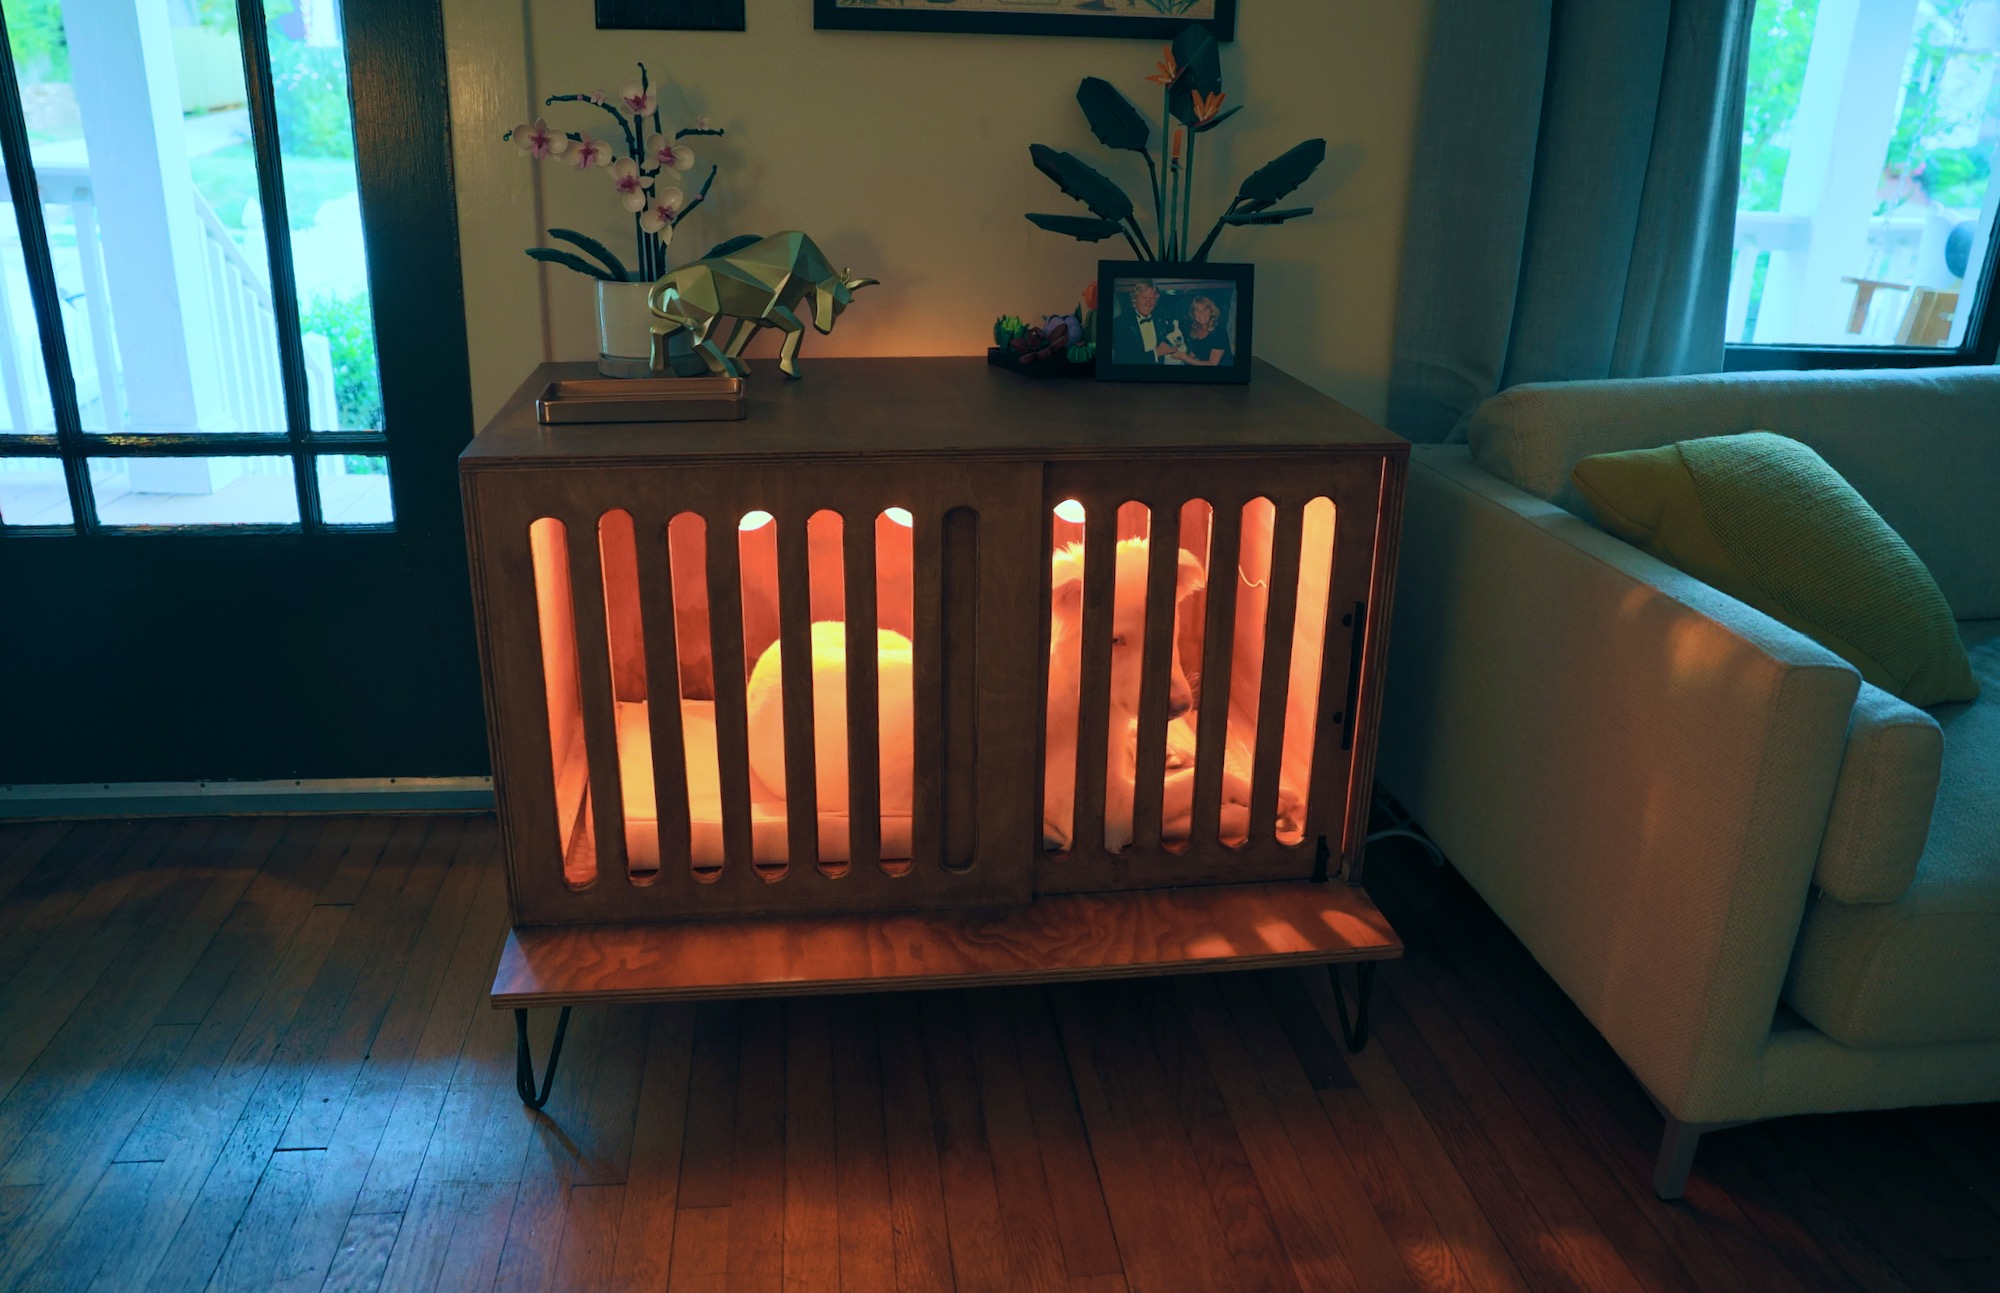
We set out to add a small wireless, low-light IP camera for checking in on Goose whenever (and from wherever) we want.
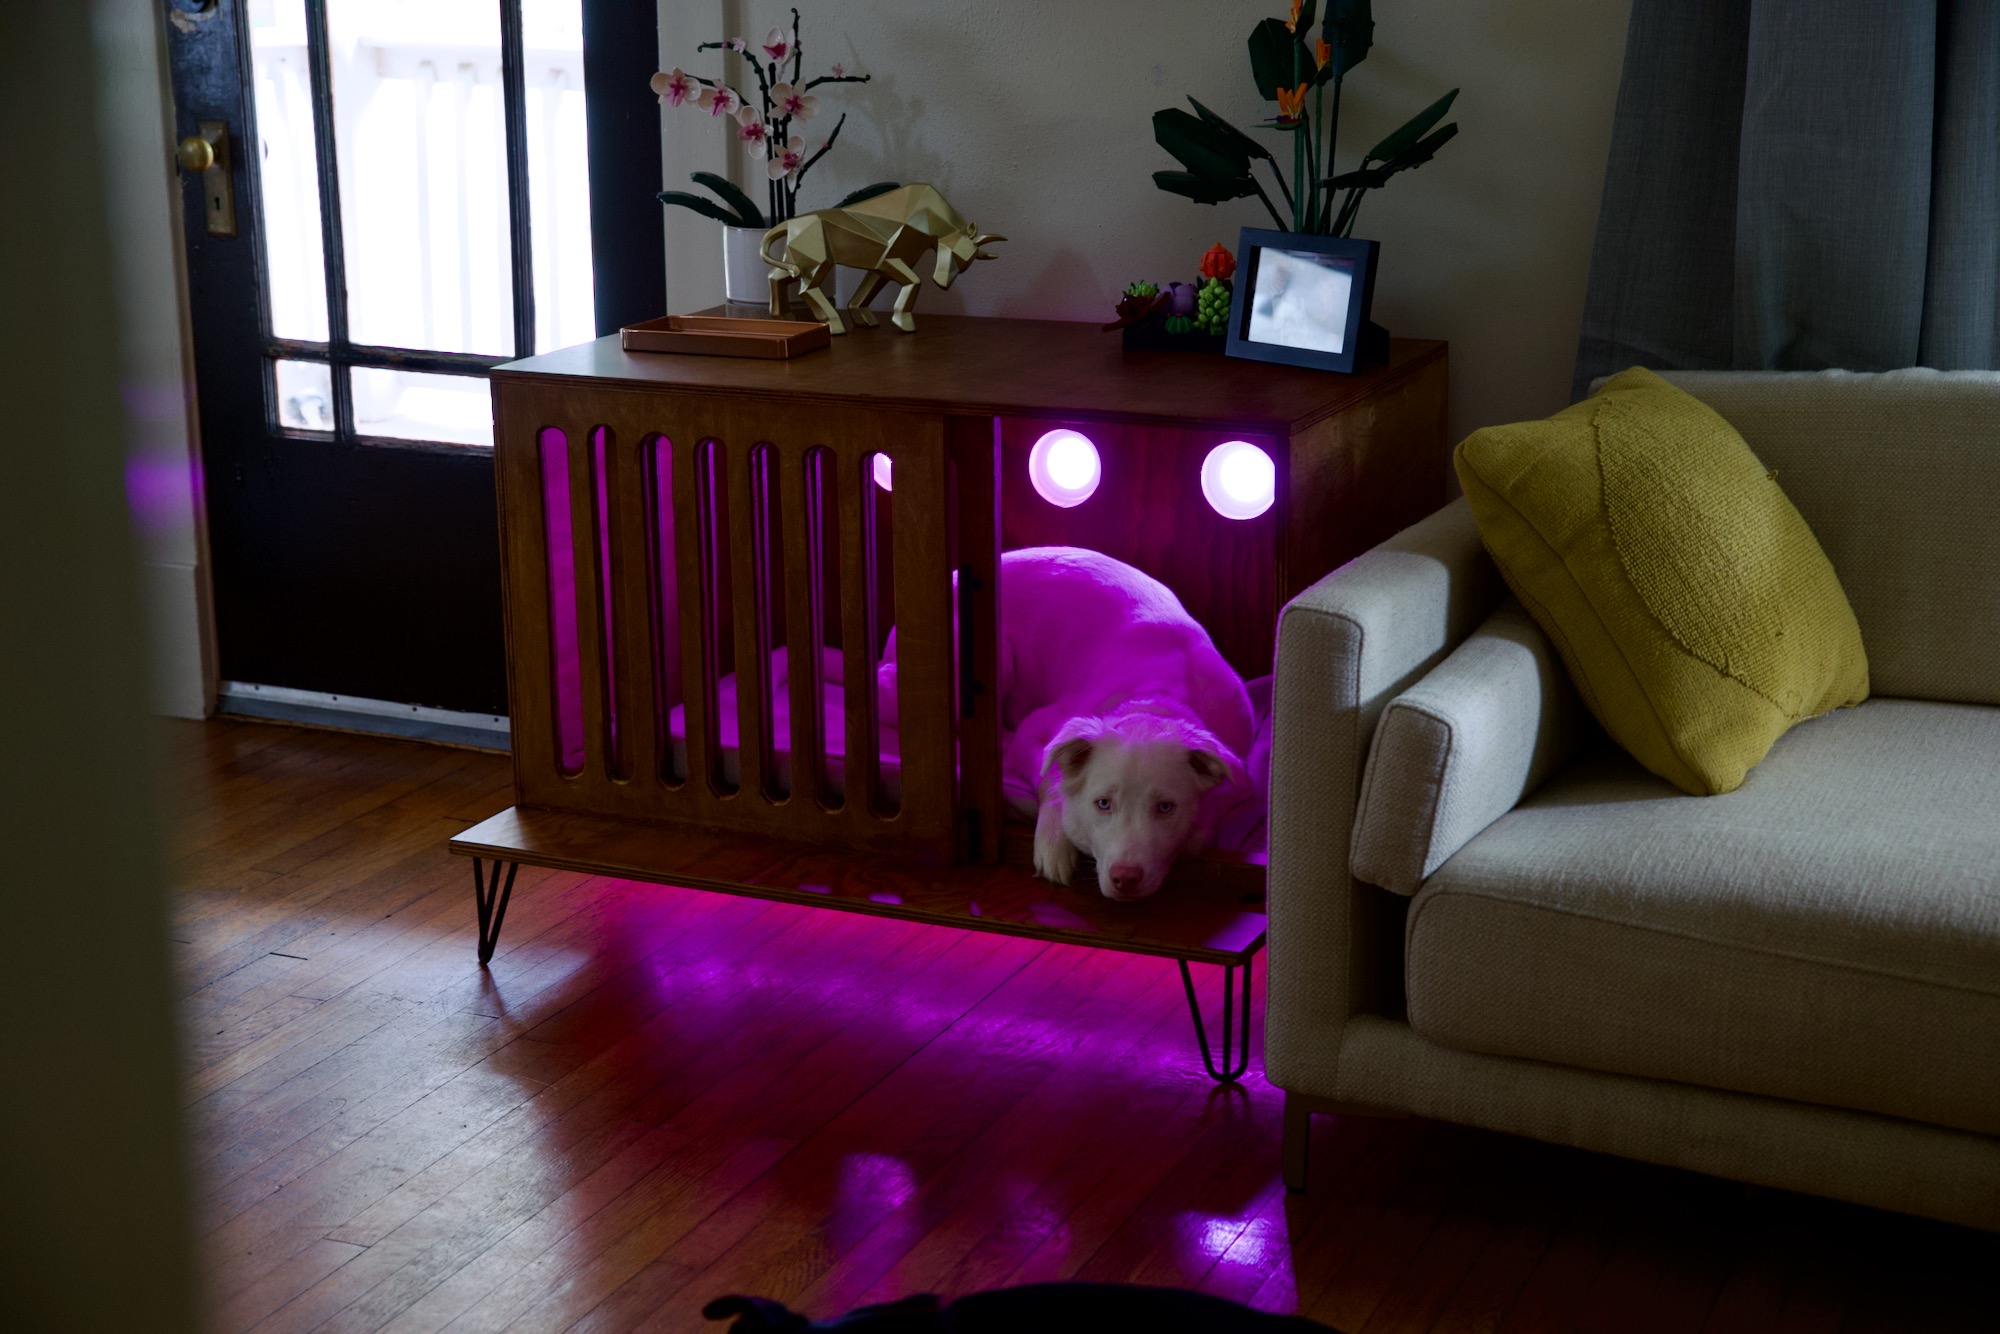
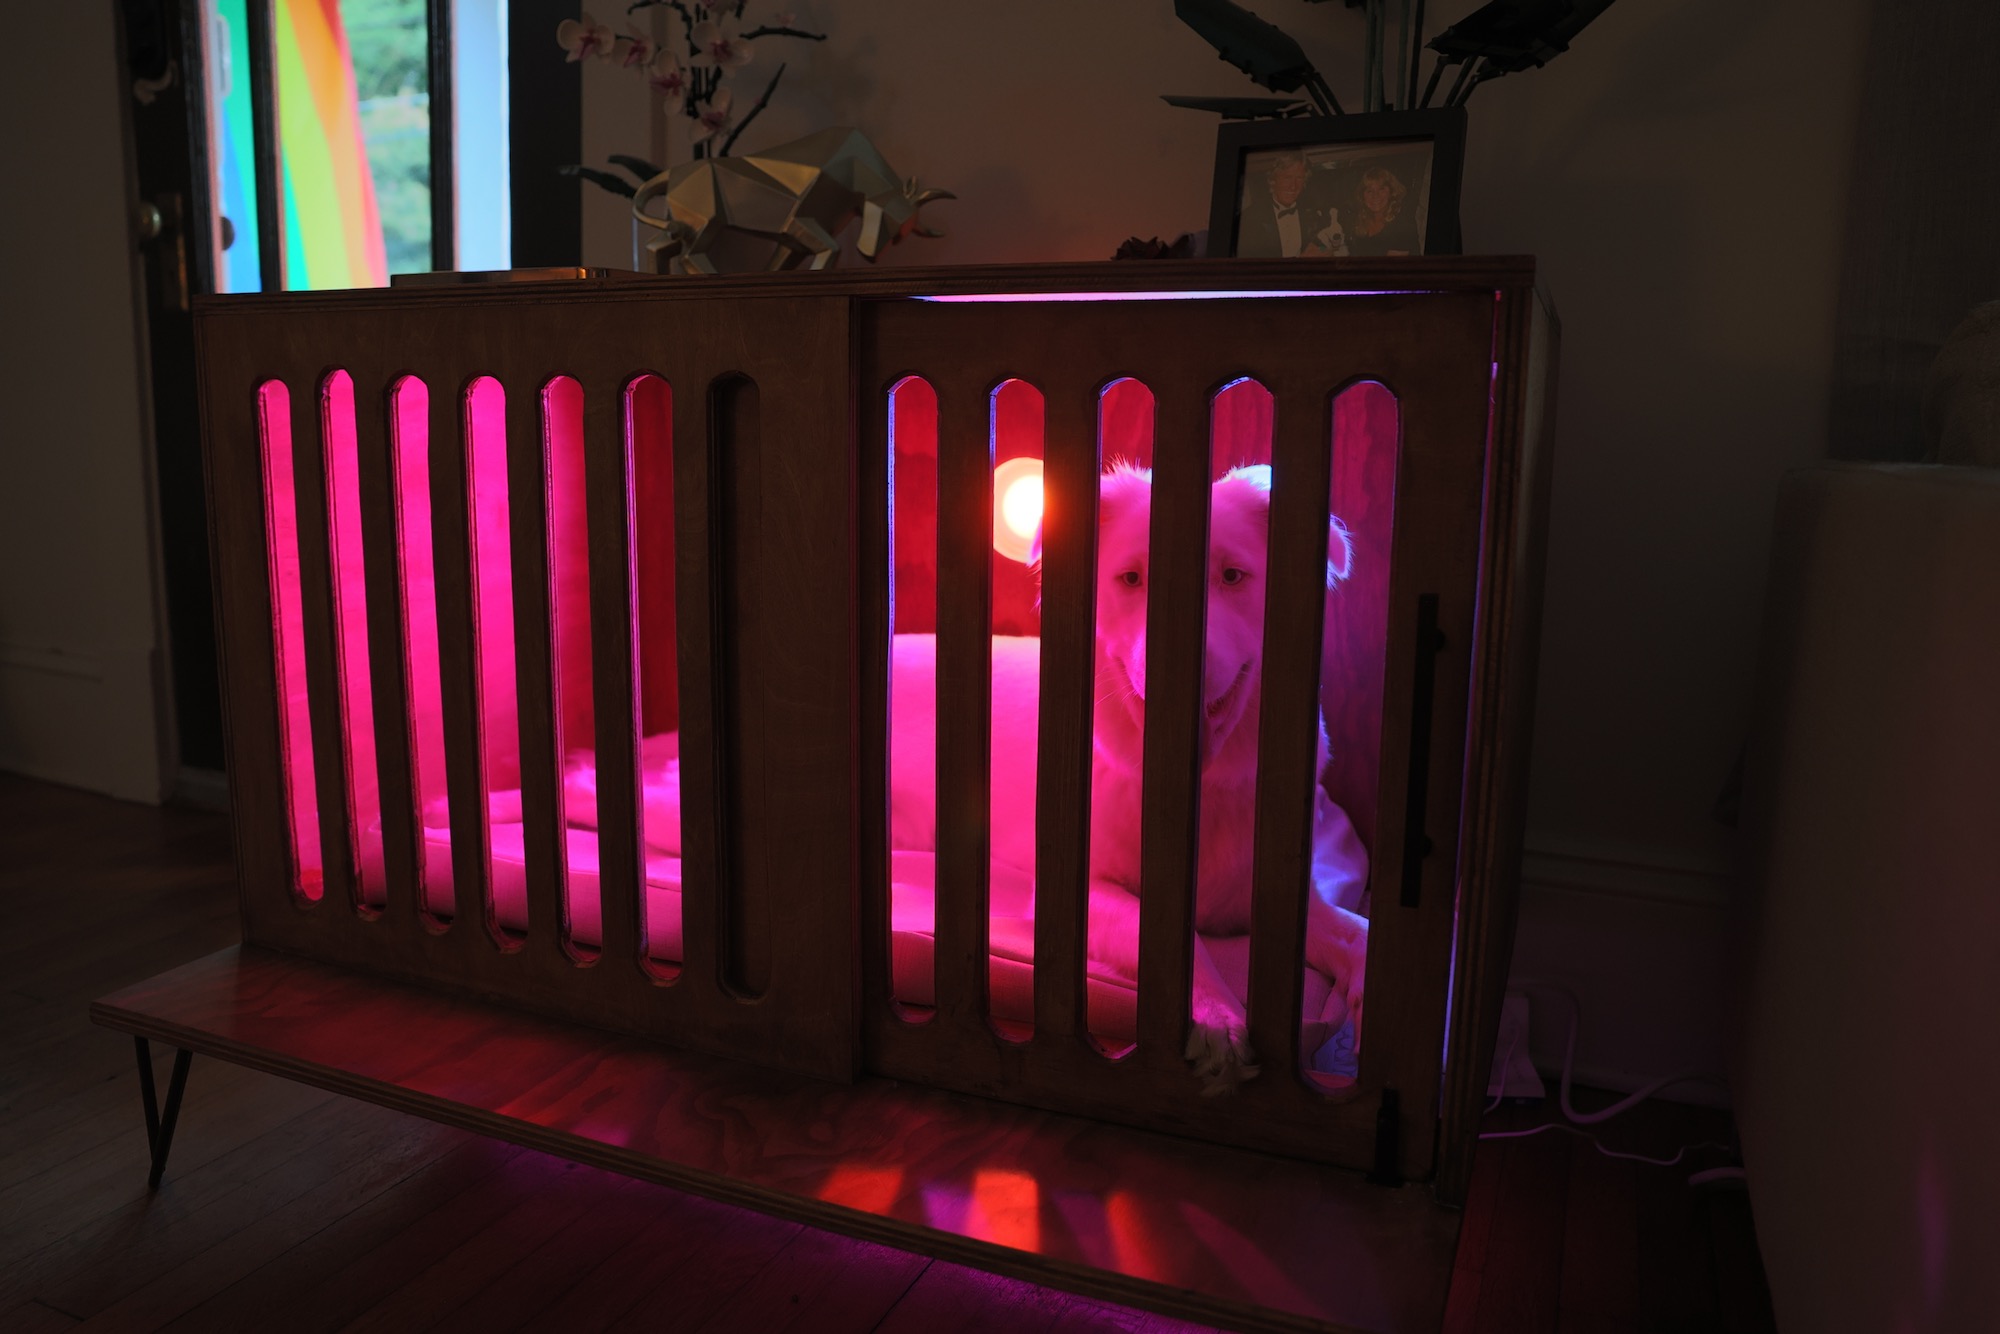
Here’s the end result:
🧐 Pi Zero 2 W vs. Pi Zero W
This tutorial assumes you are using the new version of the Raspberry Pi Zero: the Raspberry Pi Zero 2 W. This new Pi Zero 2 W board is pretty much identical to the original Pi Zero W, except it boasts a 4-core CPU instead of a single core. It would have been nice if they had bumped up the RAM or added support for 5 GHz WiFi as well, but the multicore processor does make a big difference.
You can also follow along using the older Pi Zero W, but the video feed will probably be laggy. I’d recommend starting with a resolution of 640×480 instead of 1280×720.
This tutorial will also work with a Raspberry Pi 3b+ or 4. Those Pi boards are bulkier so you’ll need a different case. On these more powerful boards, you can try 1080p resolution (1920×1080)
🎯 Design Goals
- Compact design. We will use a Raspberry Pi Zero 2 W. The original Pi Zero W (2017 version) is not recommended, as previously stated, as you’ll probably have to operate it at a lower resolution
- Must work well in low light — with or without an optional IR Illuminator. We’re going to use the Pi NoIR Camera v2.
- Using the latest version of Raspberry Pi OS (Bullseye), not motionEyeOS
- Stream footage over home network or remotely over the Internet
- Real-time streaming only! I’m not looking to record videos so we’ll be turning off movie capture to prevent filling up the SD Card.
- Completely headless install – Connecting a keyboard, mouse and display to the Raspberry PI is not necessary.
🛒 Materials

- Raspberry Pi Zero 2 W from Amazon (more expensive) or from one of these suppliers
- microSD Card (at least 8GB)
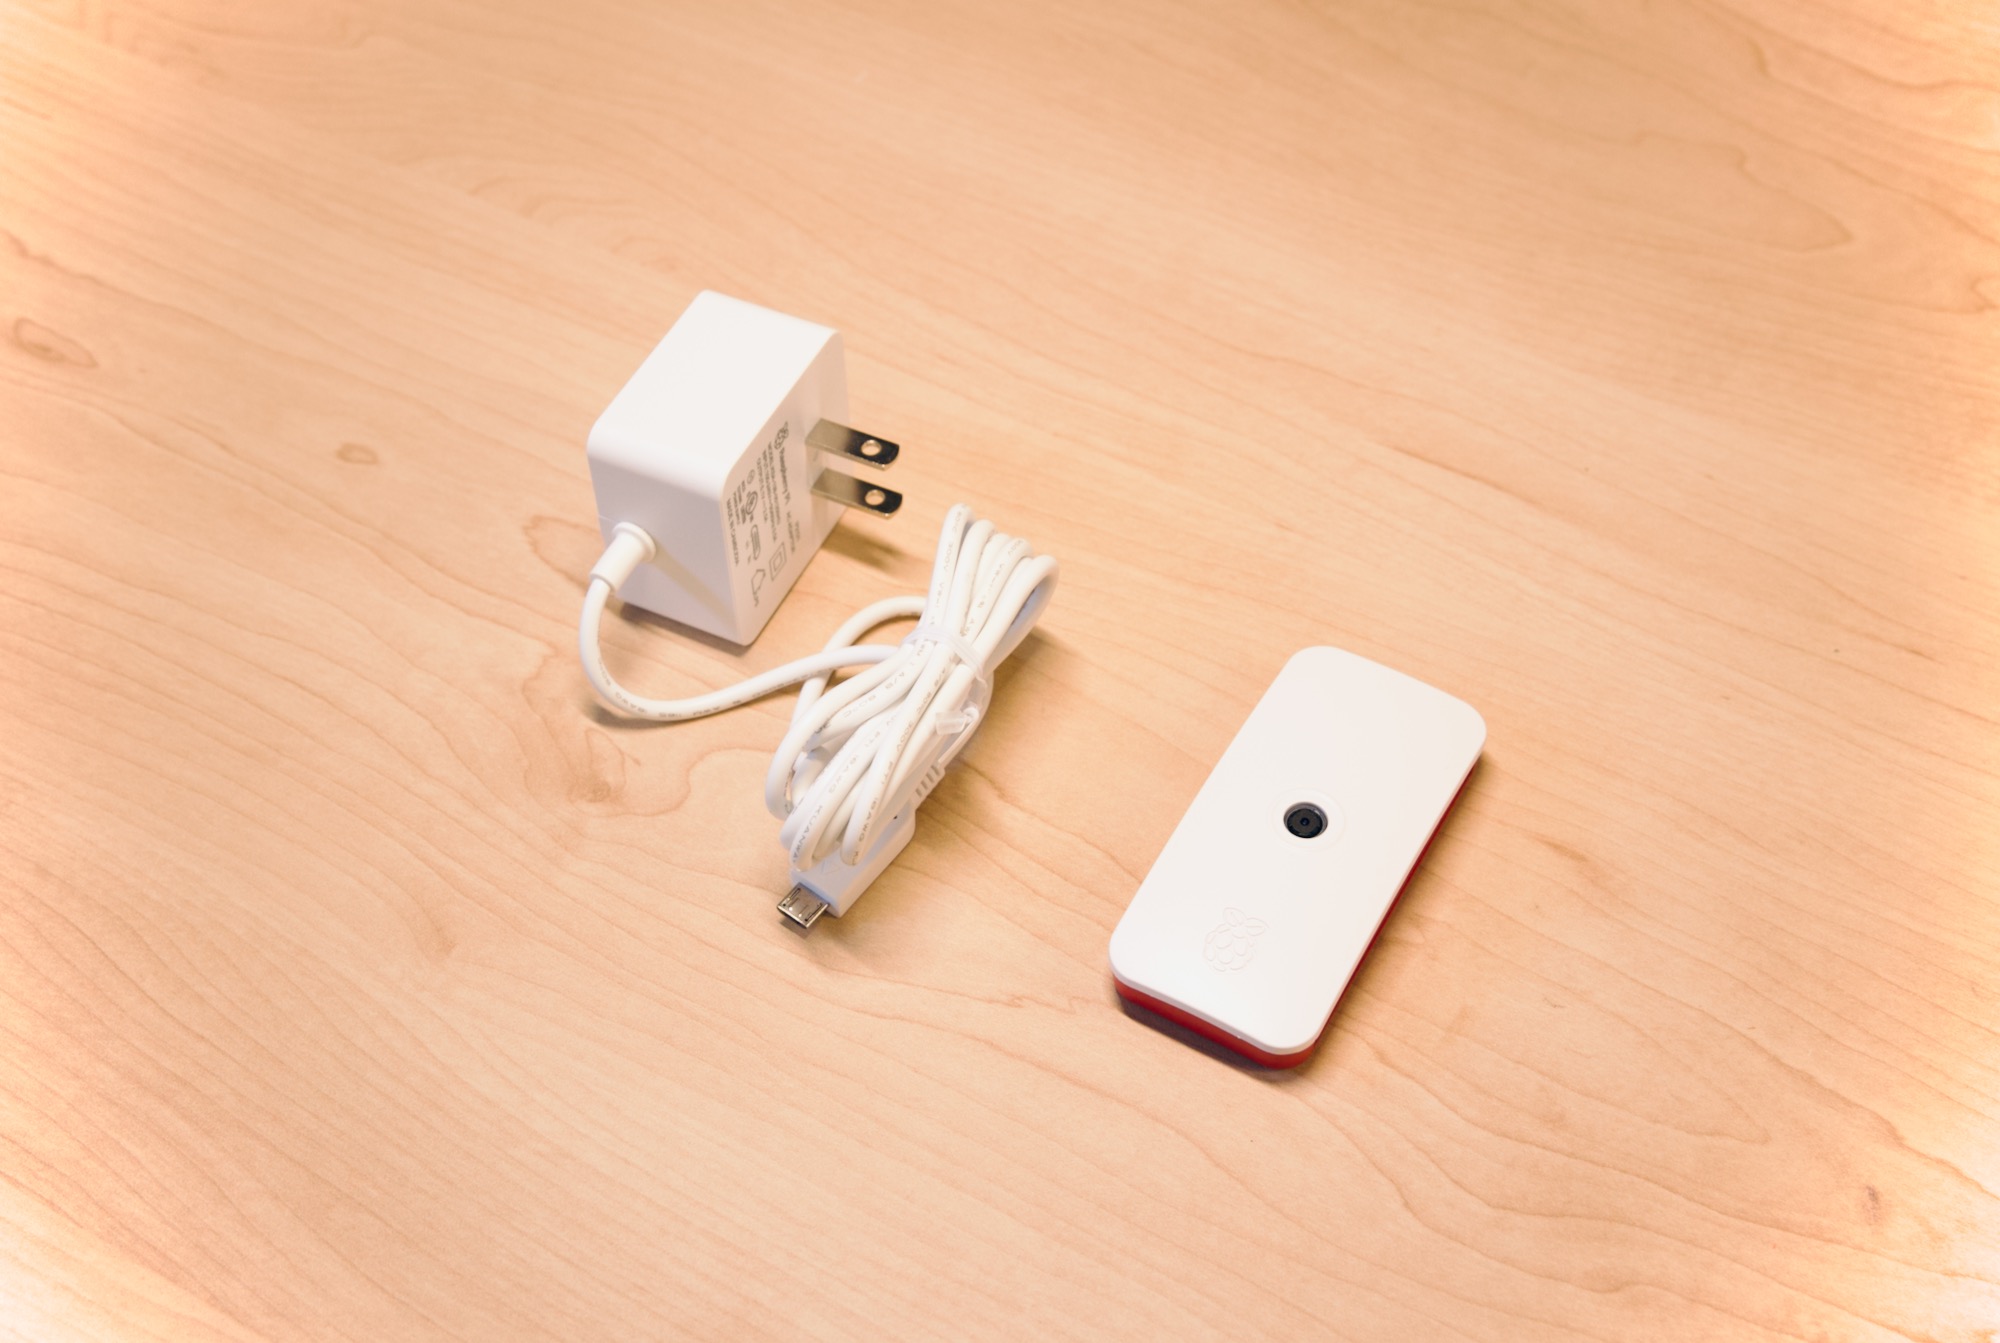
- Micro USB Power Supply (more expensive: official Raspberry Pi power supply)
- Zero 2 W Official Case (comes With the CSI Camera Cable)
- Raspberry Pi NoIR v2 Camera Module
- Mounting Tape (optional)
- An SD Card Reader if your computer does not have one built in
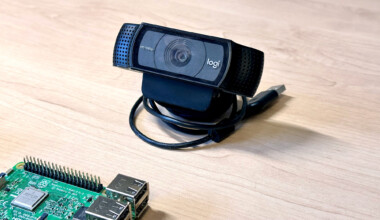
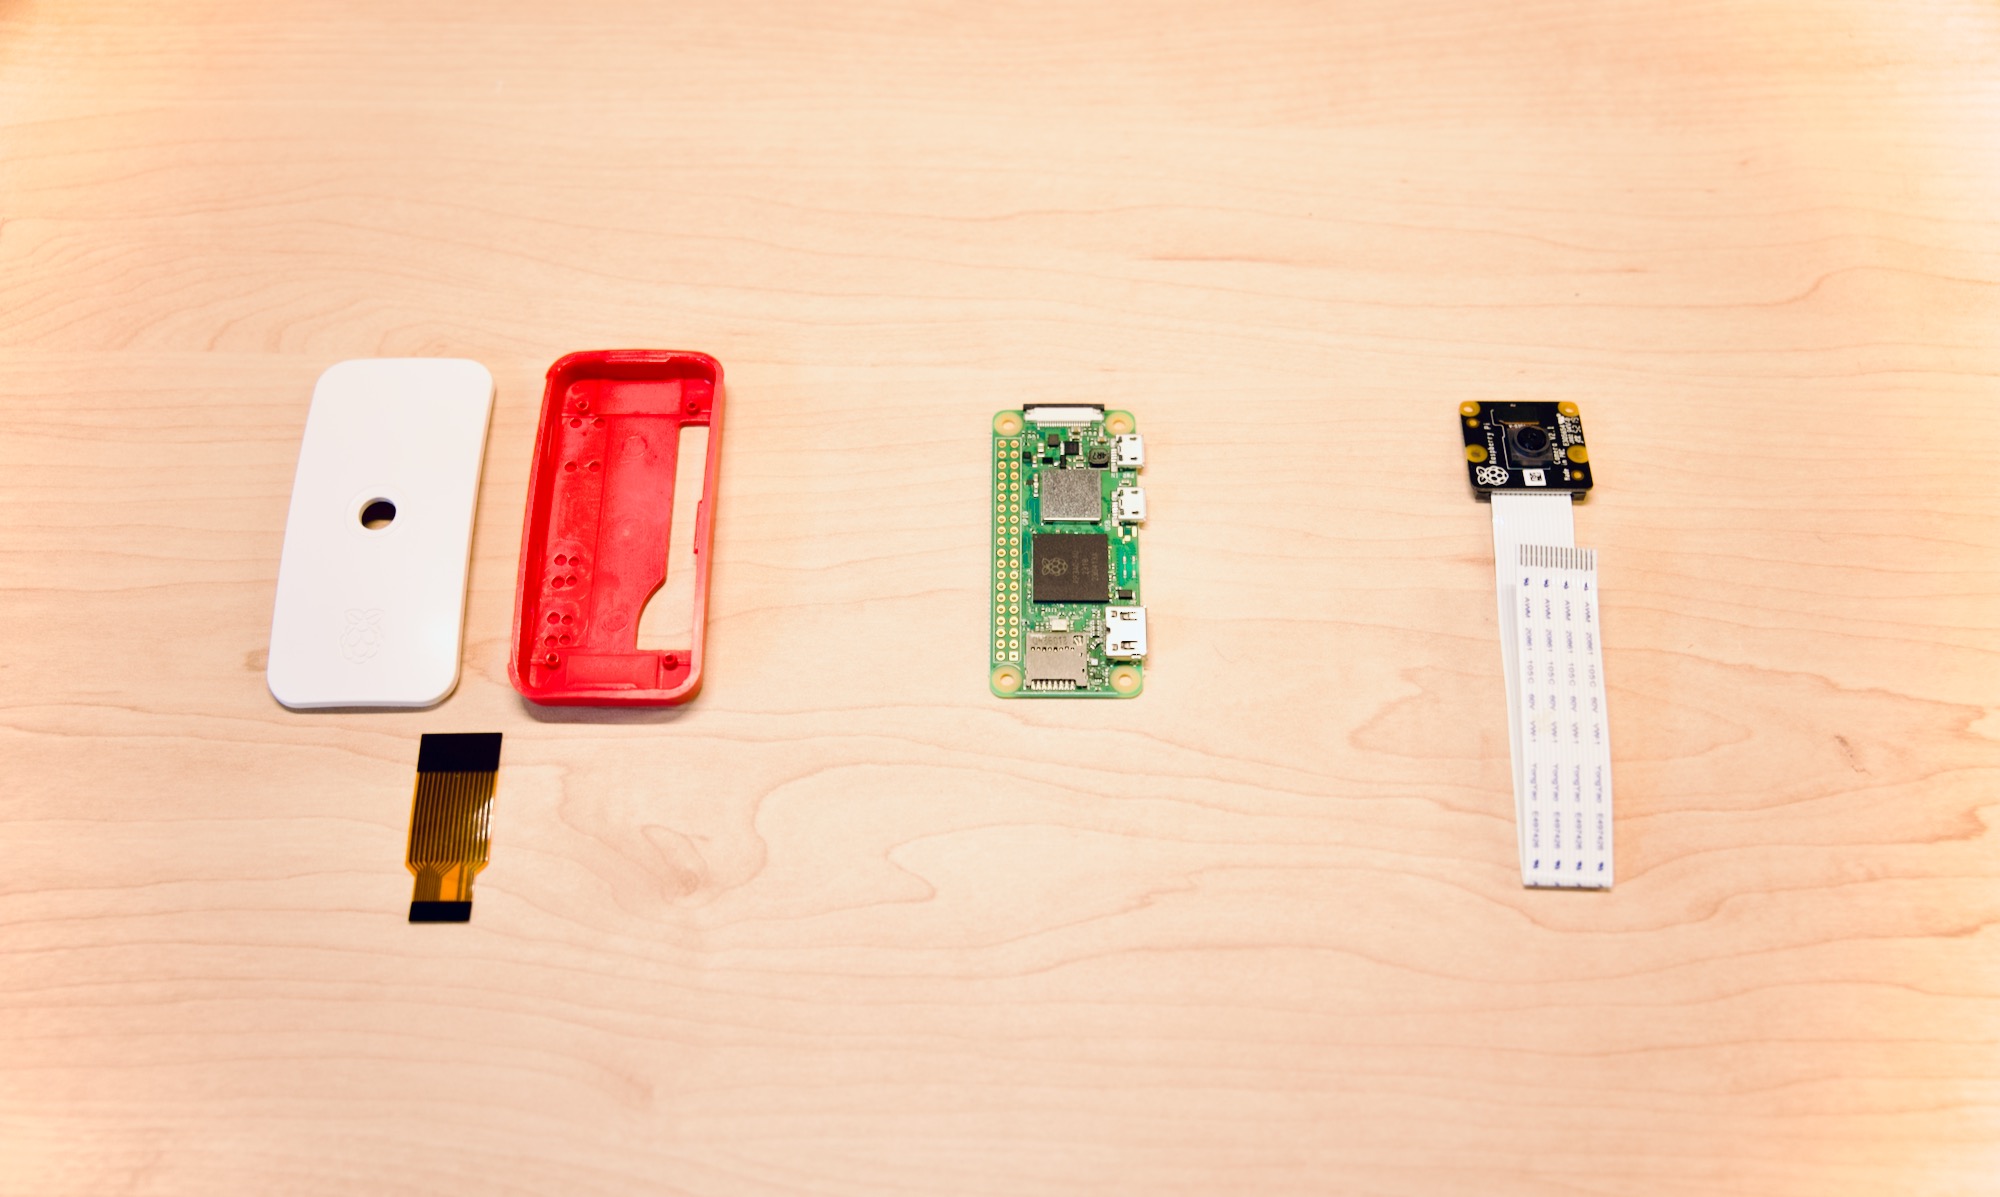
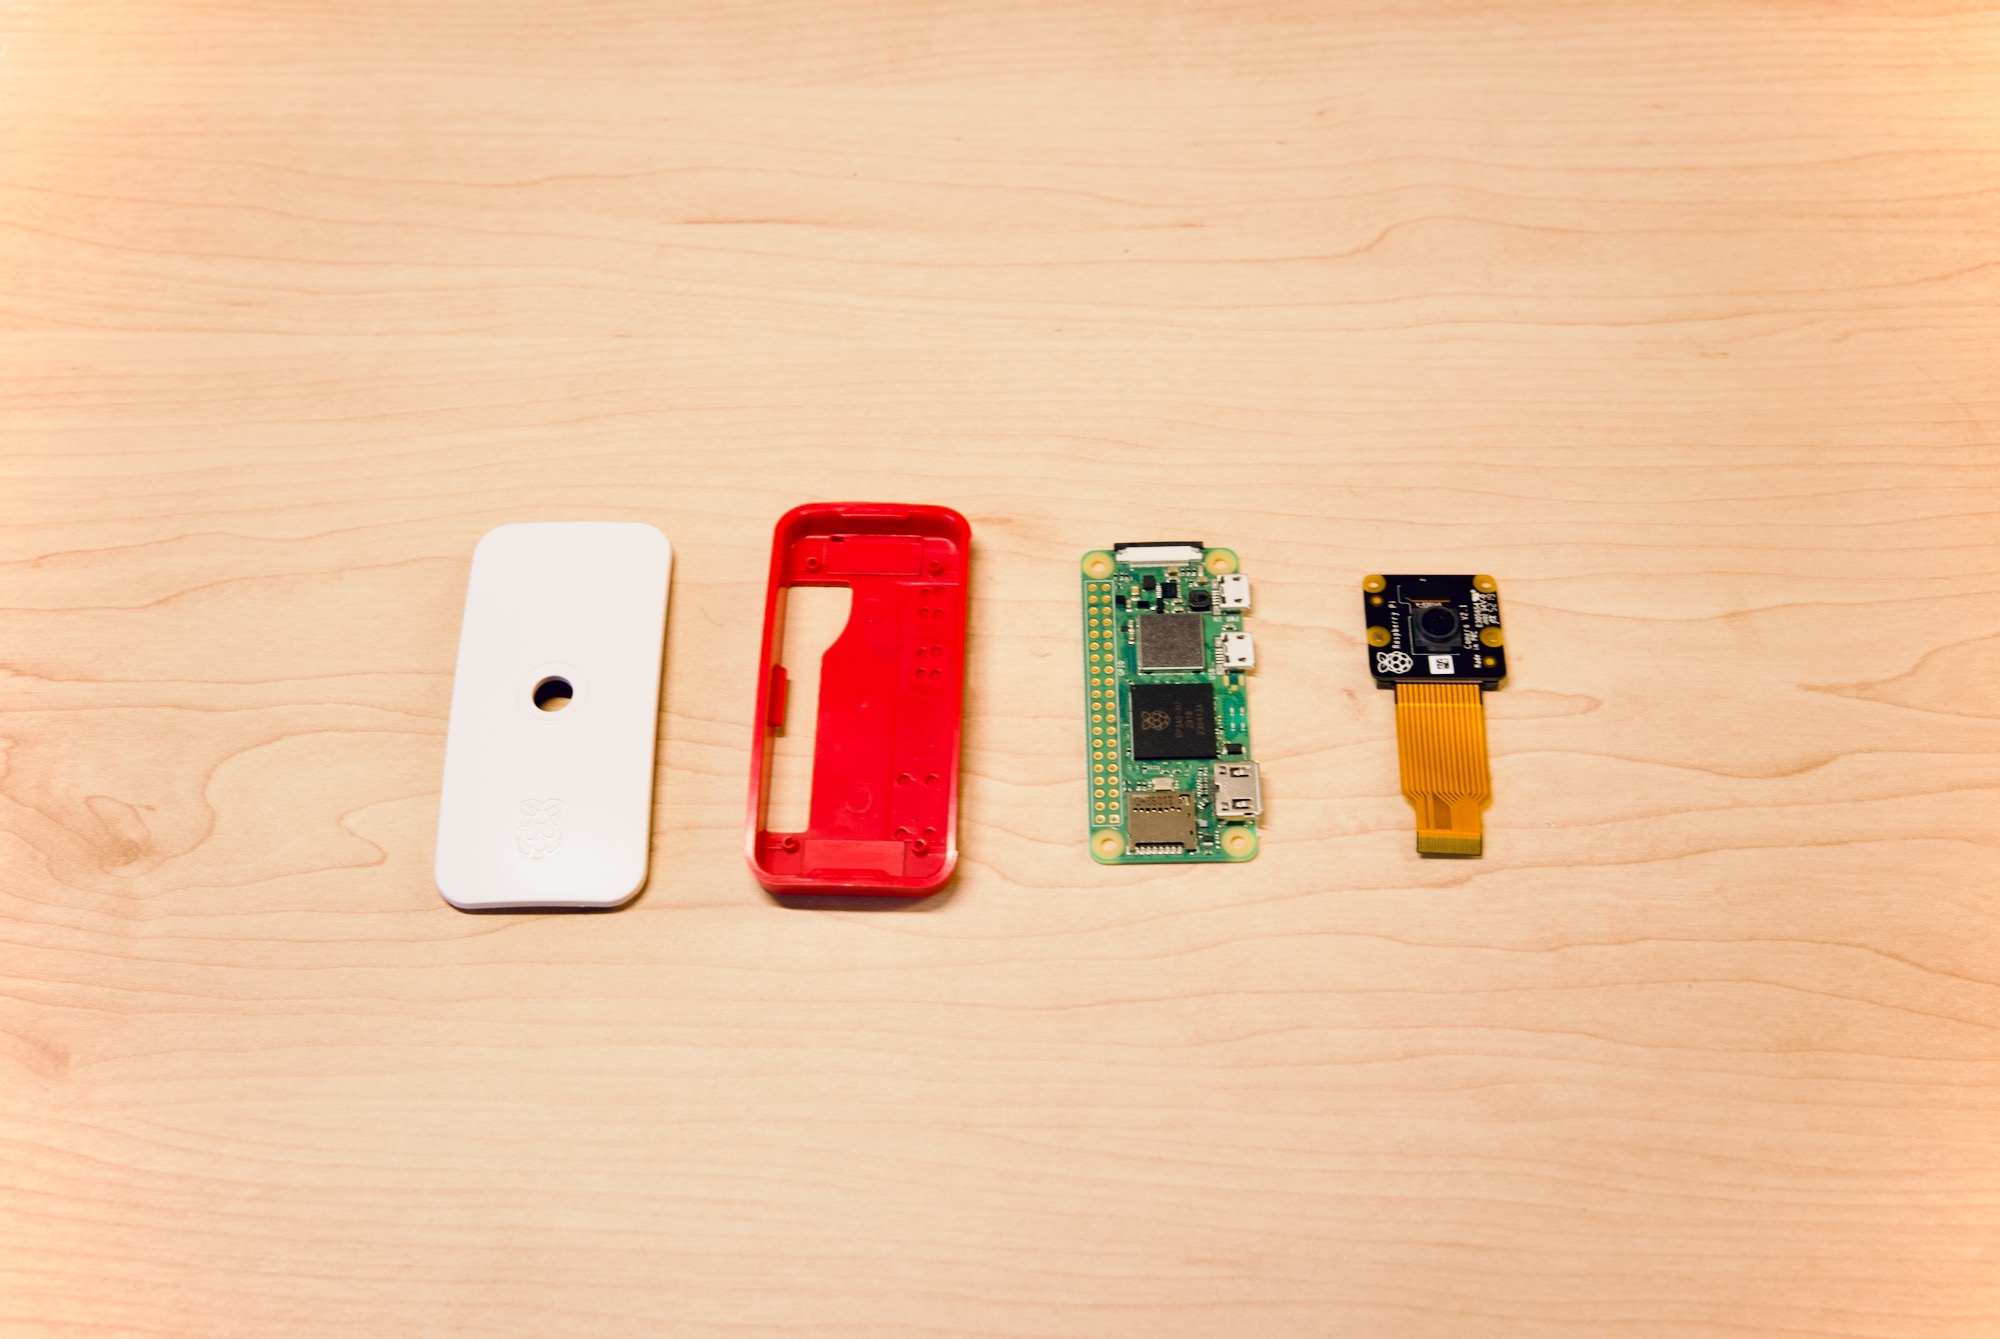
🔨 Assembling the Pi & Camera
Gather the case, the Pi Zero 2 W, and the NoIR Camera Module:
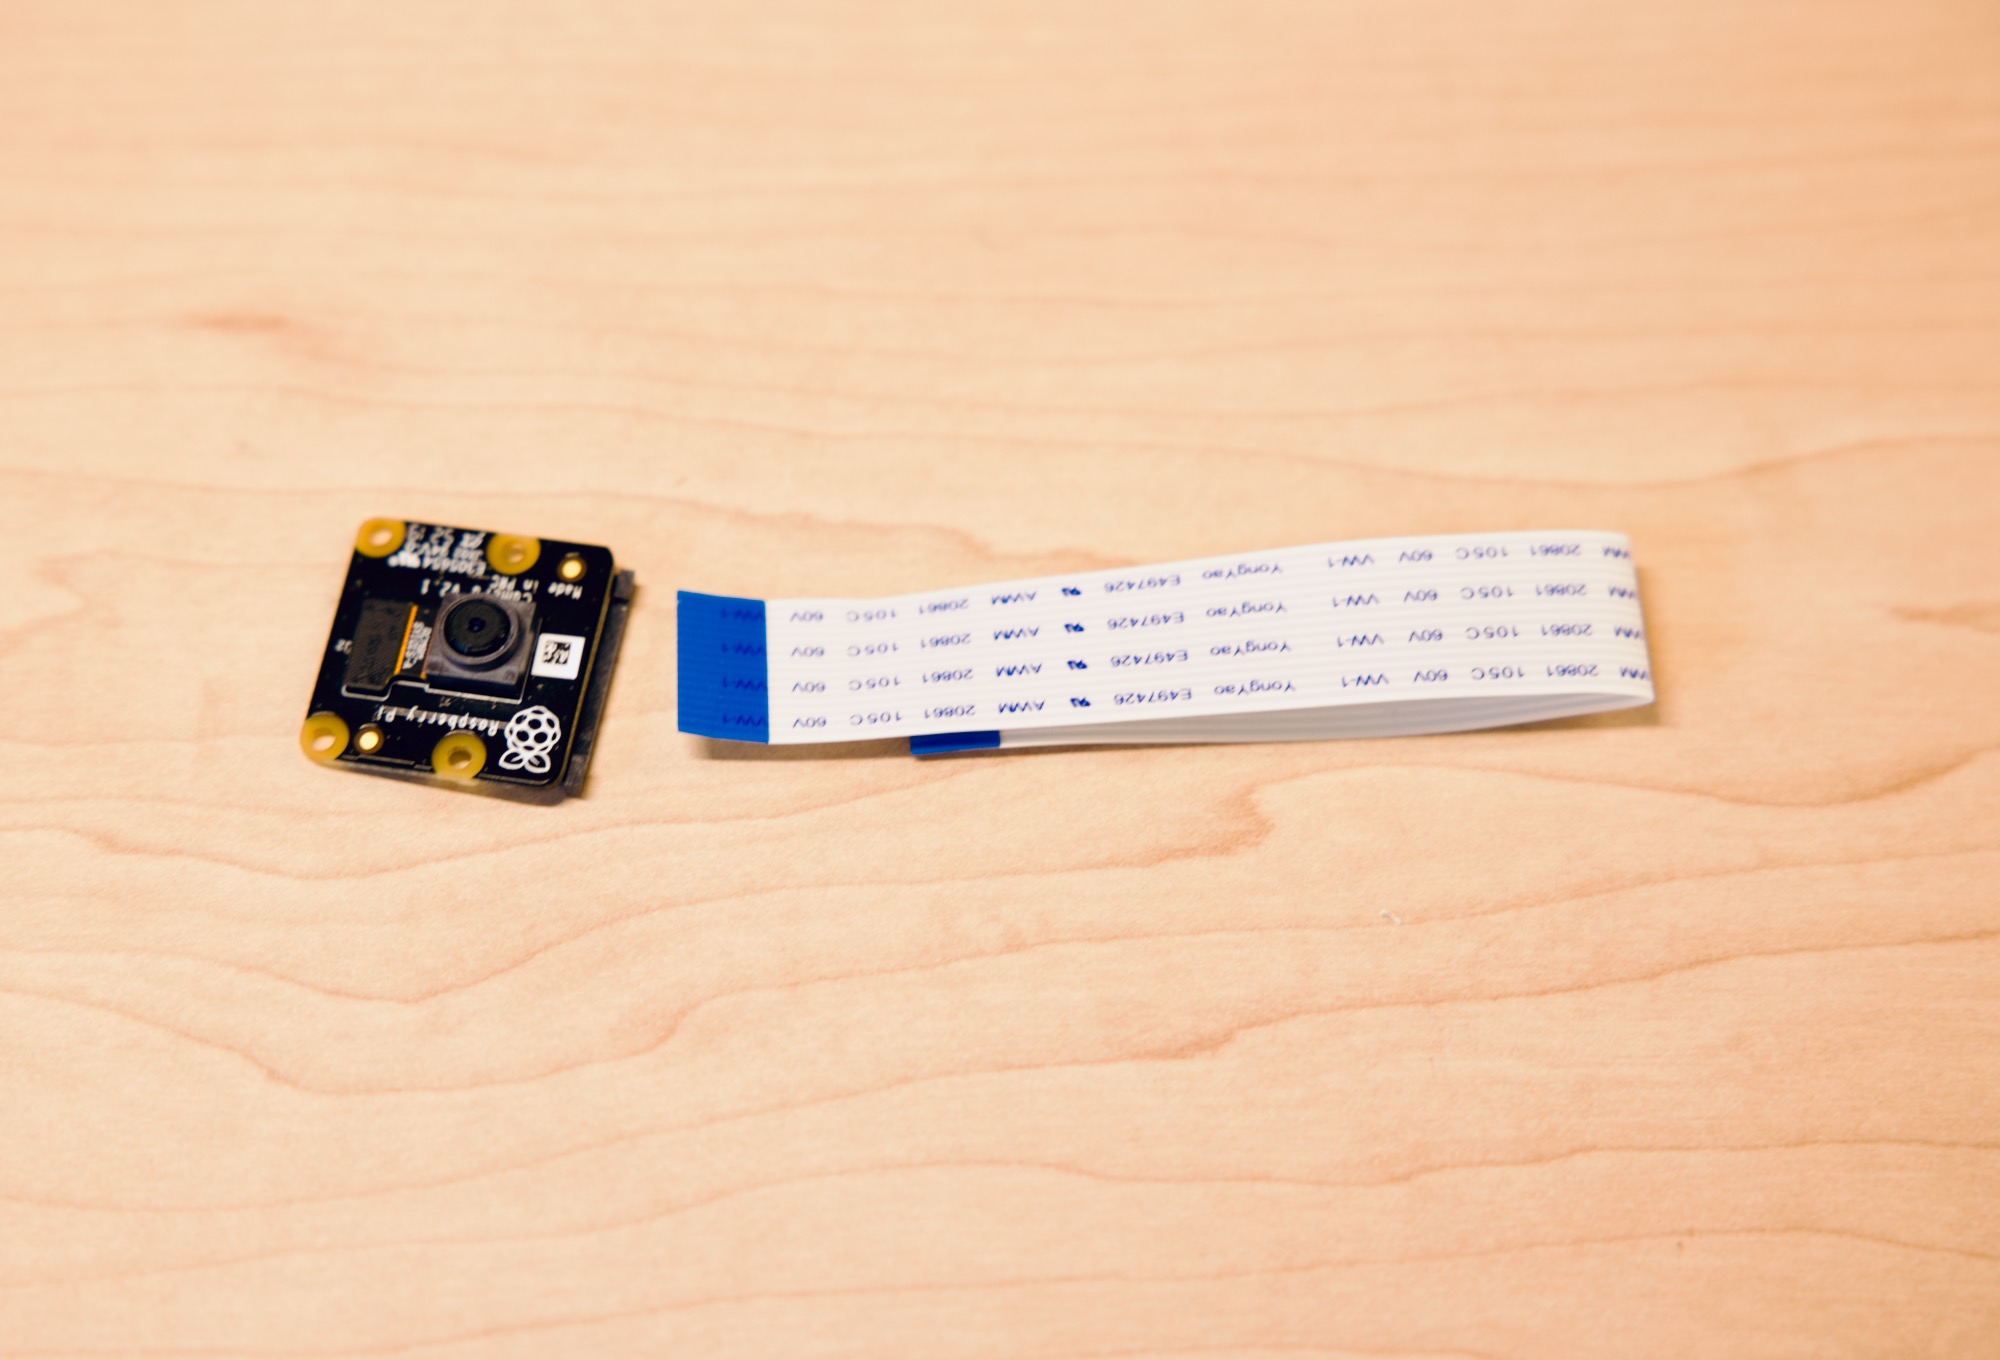
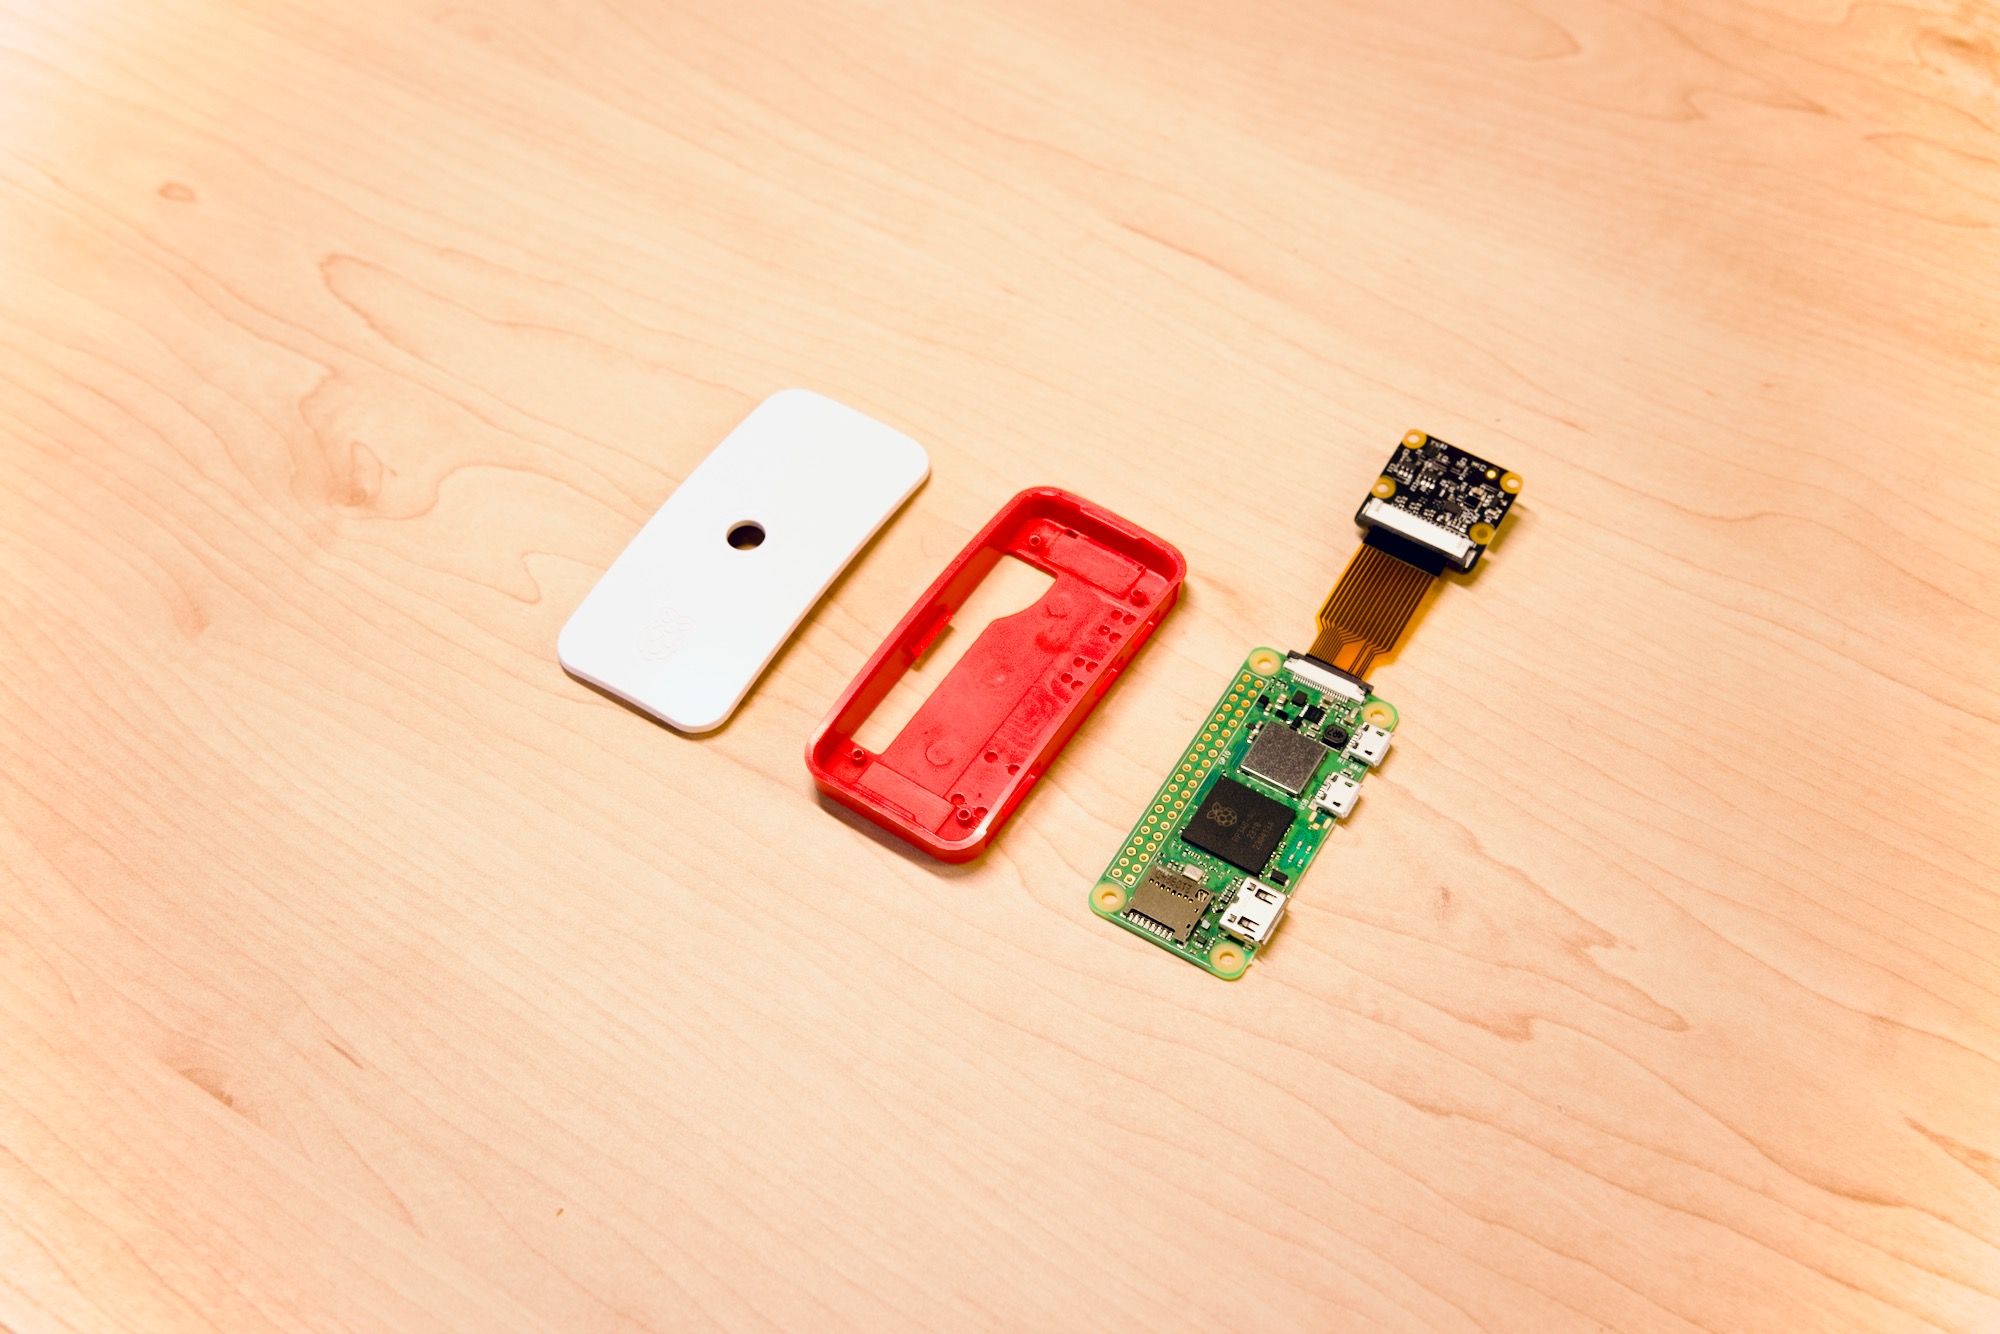
Carefully Remove the CSI Cable From the NoIR camera:
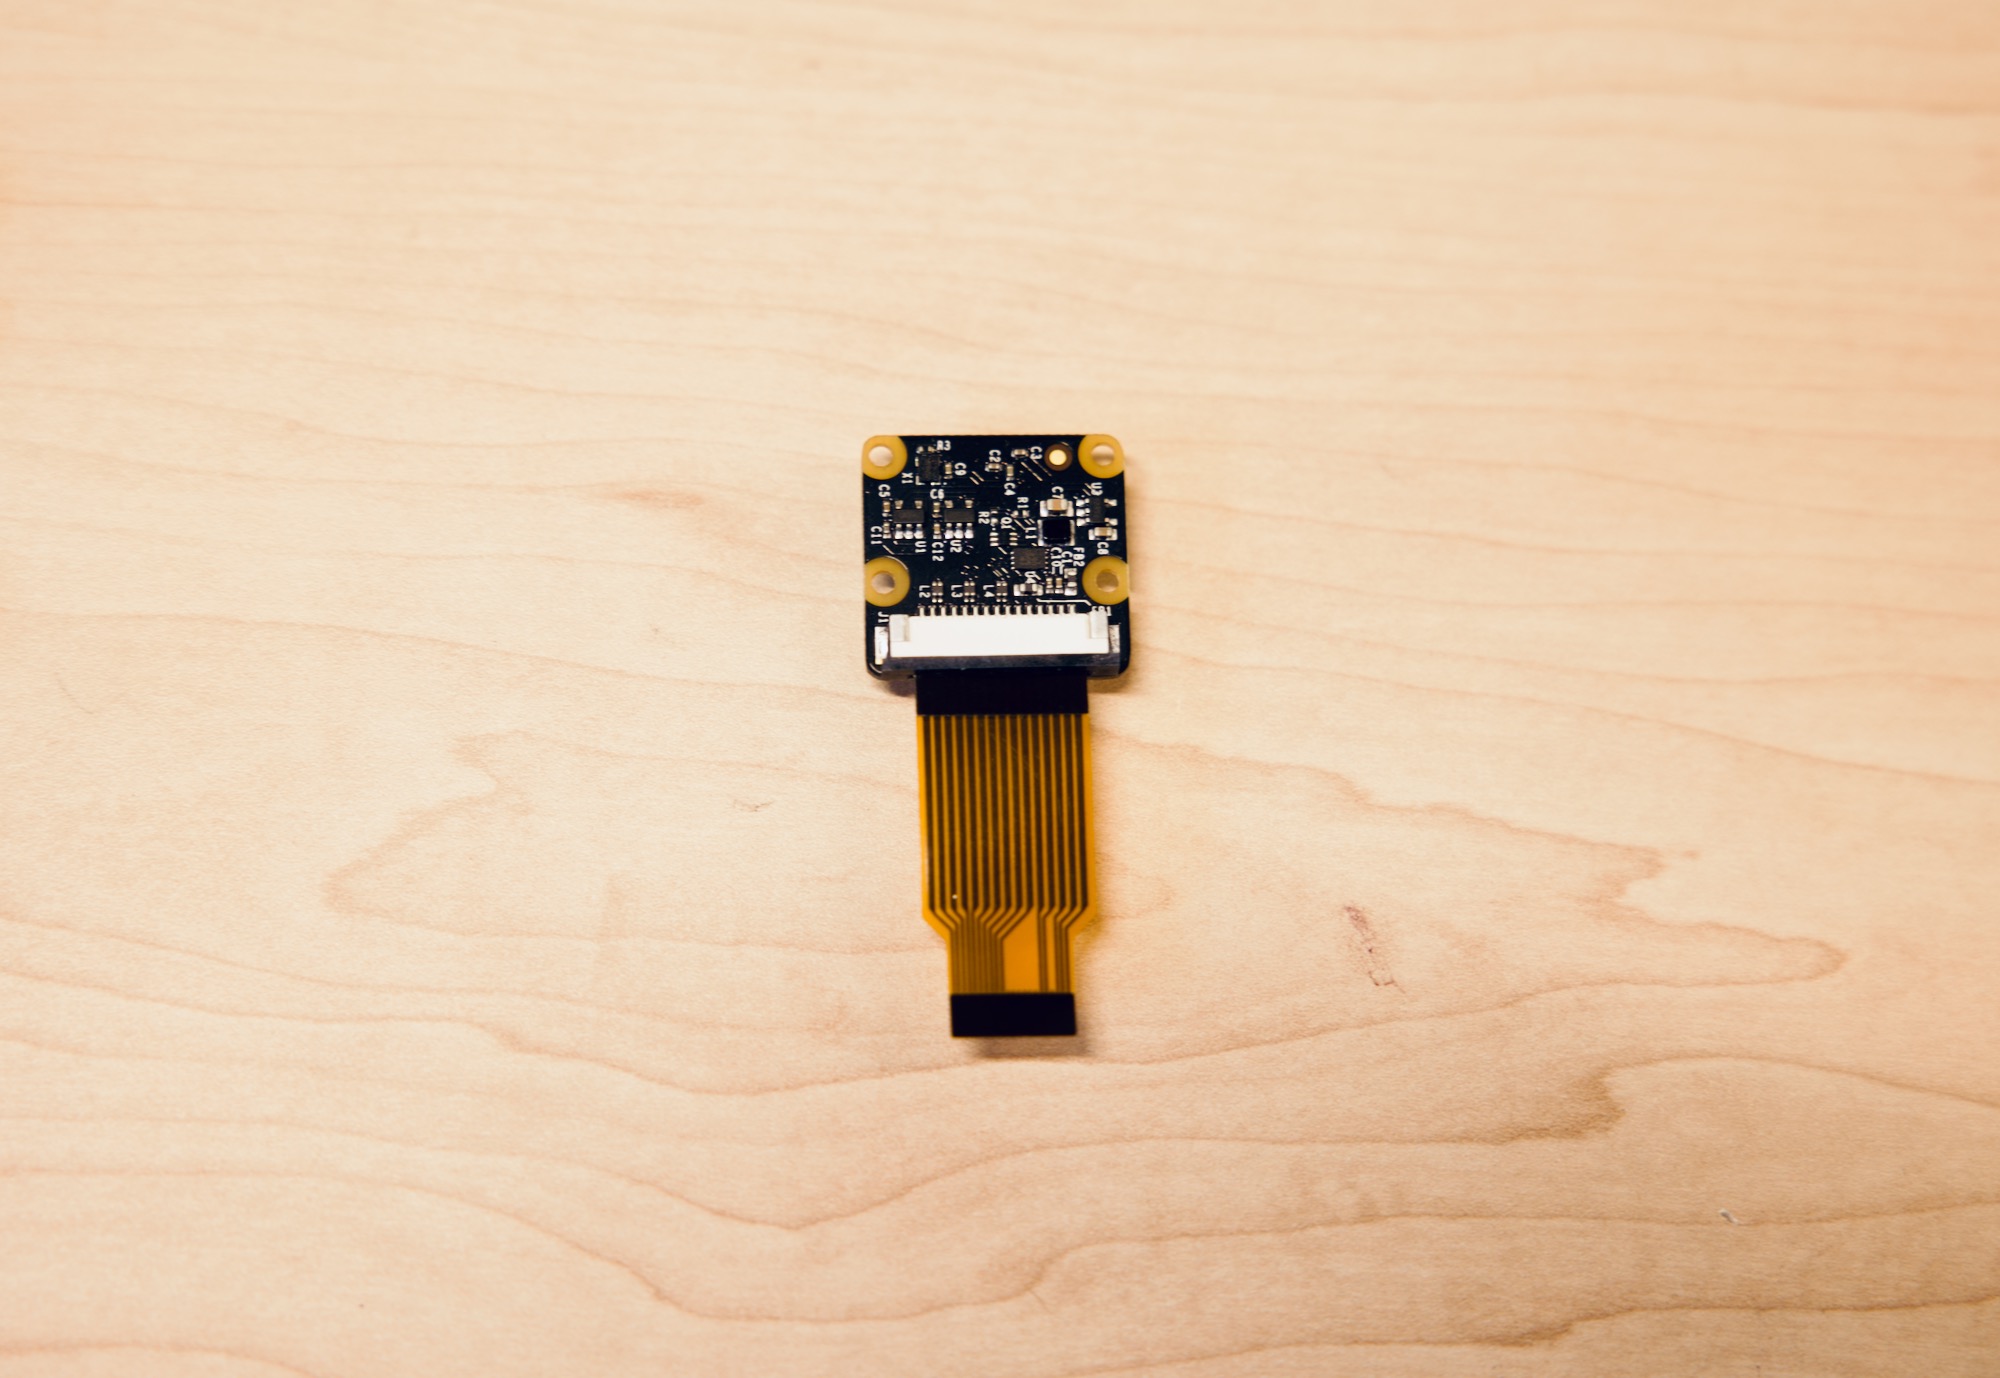
Replace the CSI cable that you removed with the short one that came included with theOfficial Raspberry Pi Zero Case:
Attach the camera module to the Pi Zero 2 W board:
Place the Pi Zero in the case.
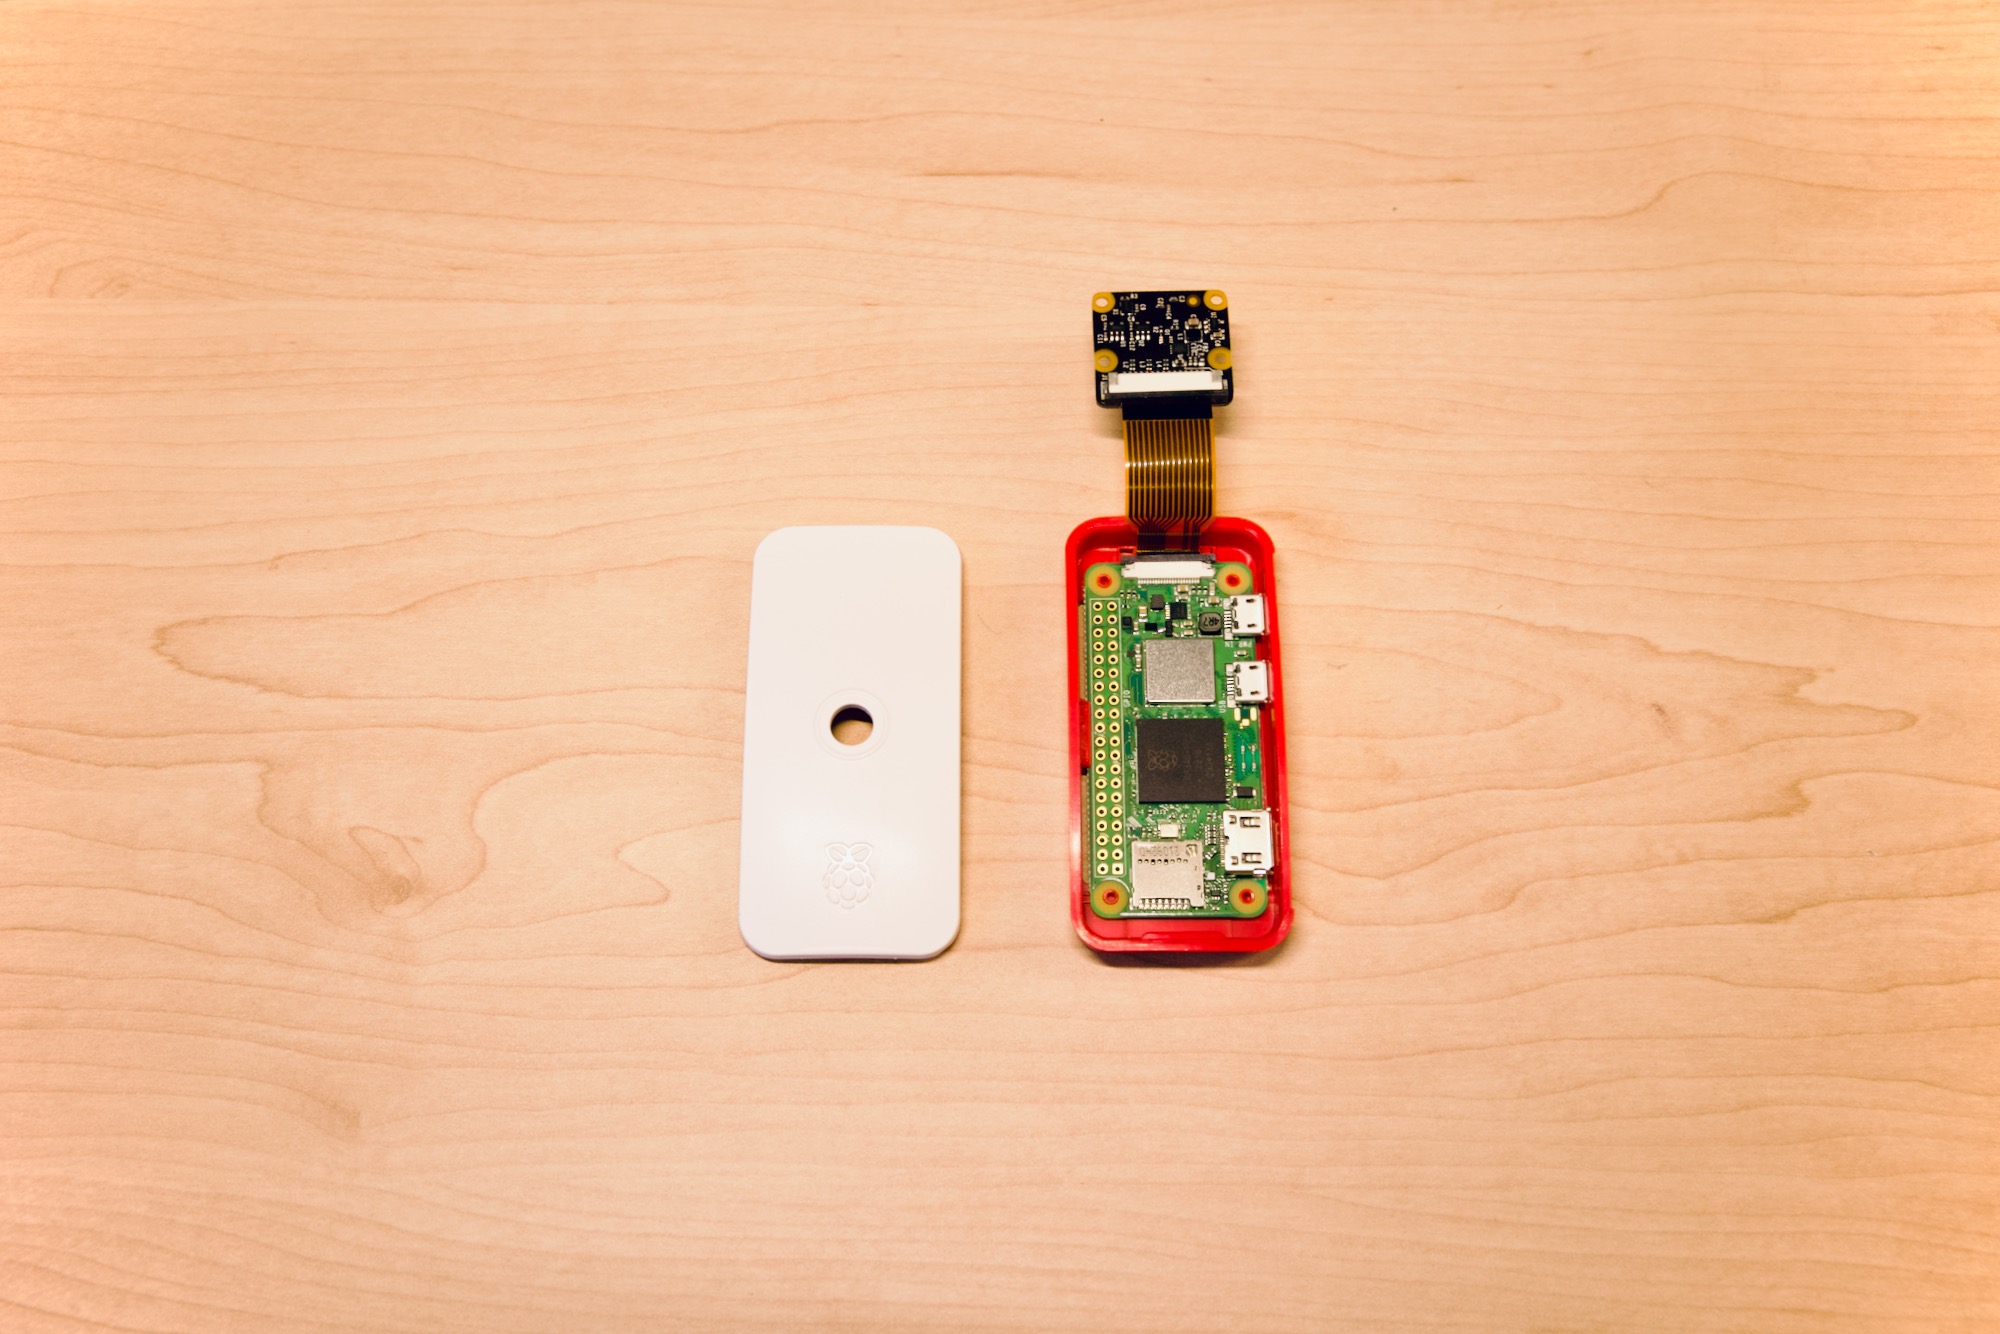
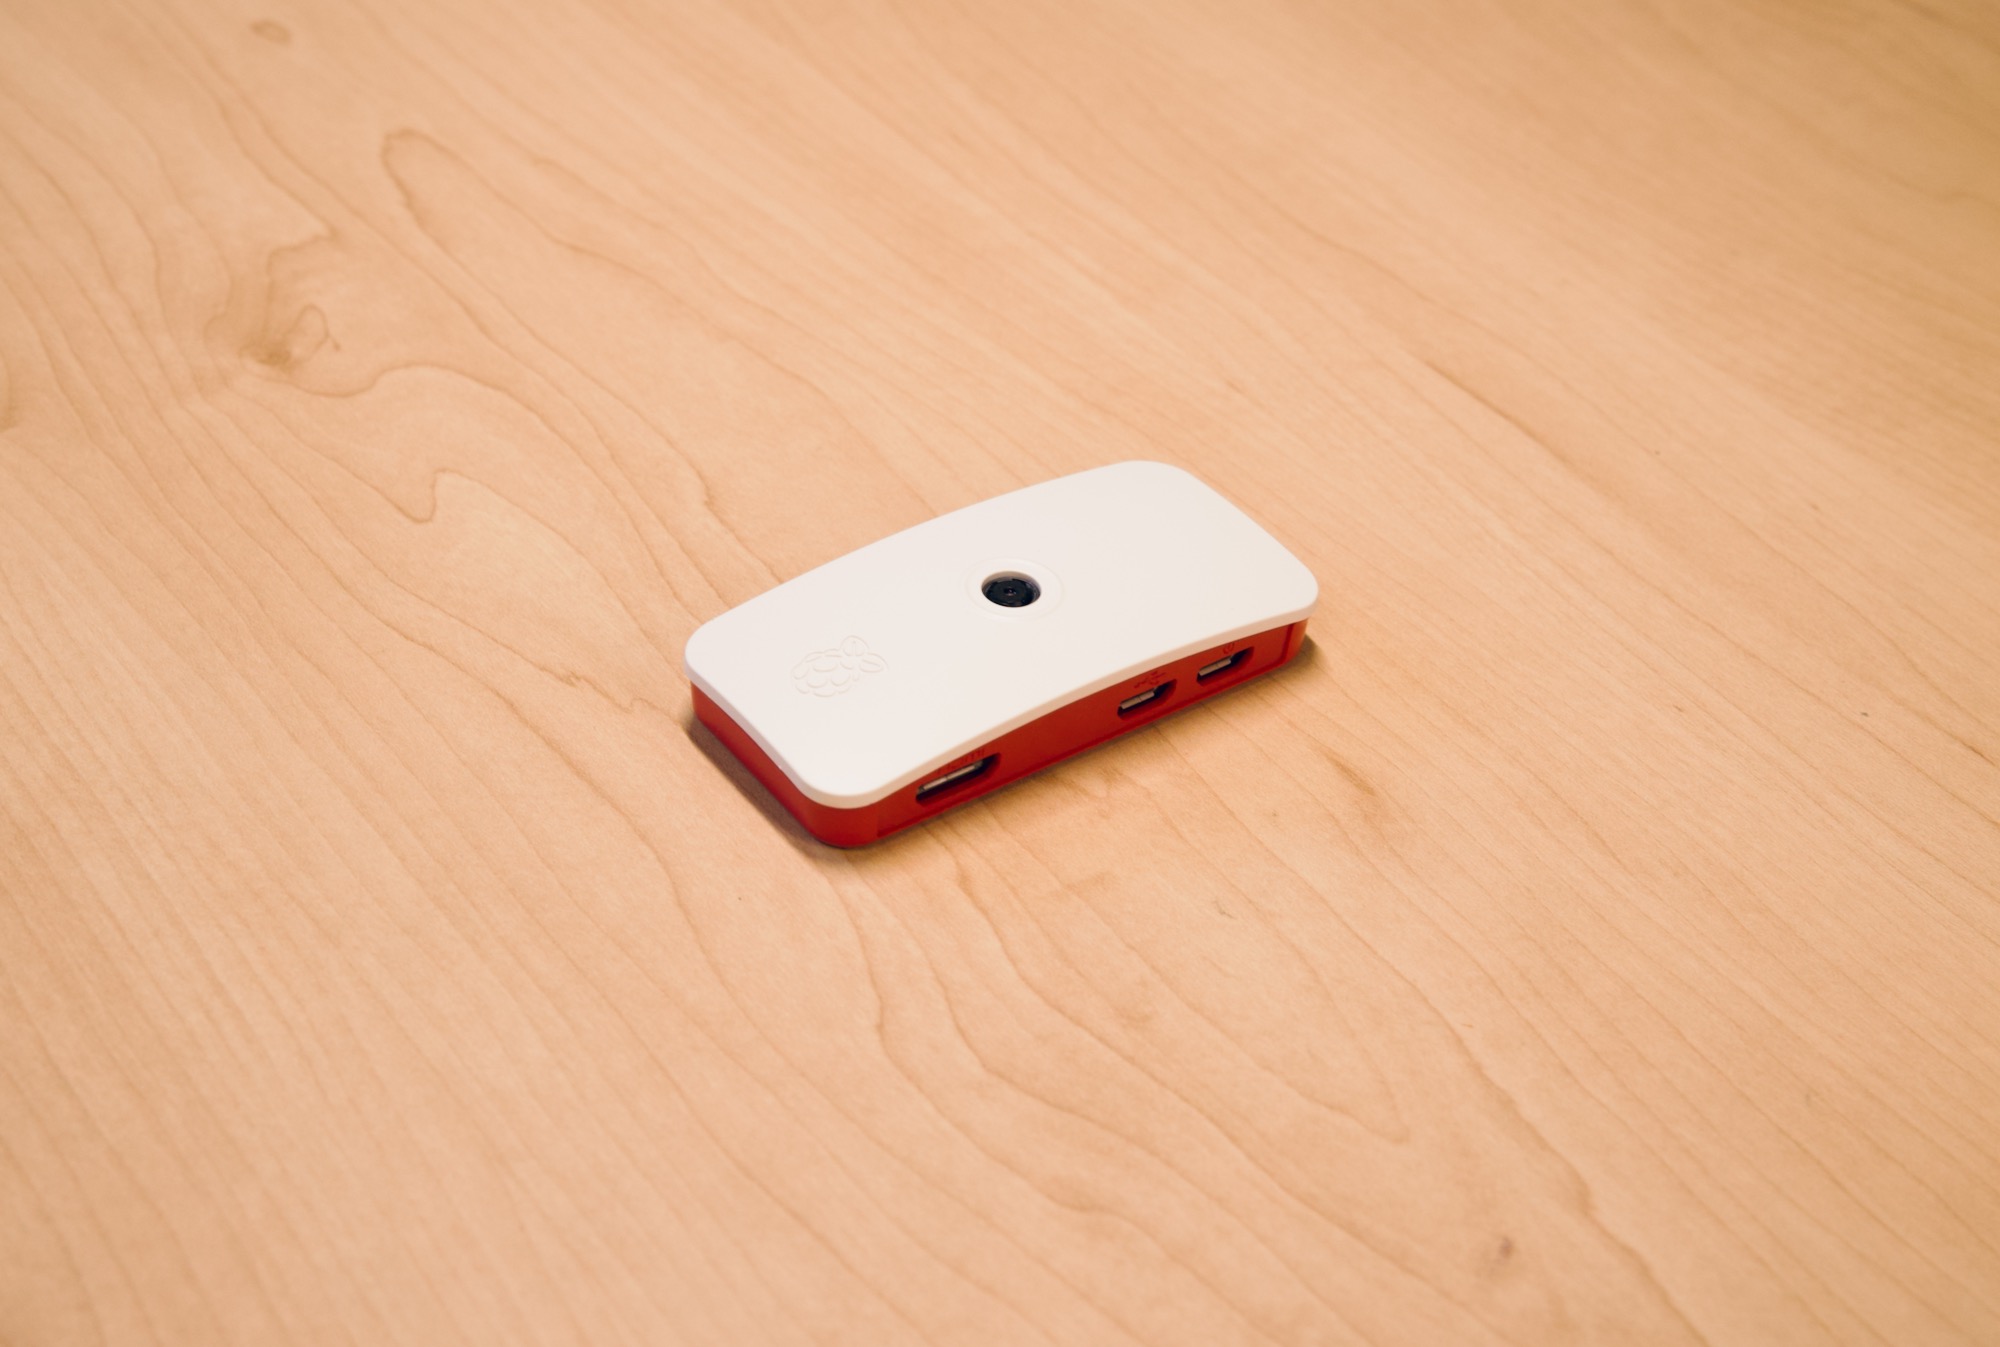
The camera and case are now assembled! You’ll need to pop it open and insert the SD card later after flashing it (which we’ll do in the next section!)
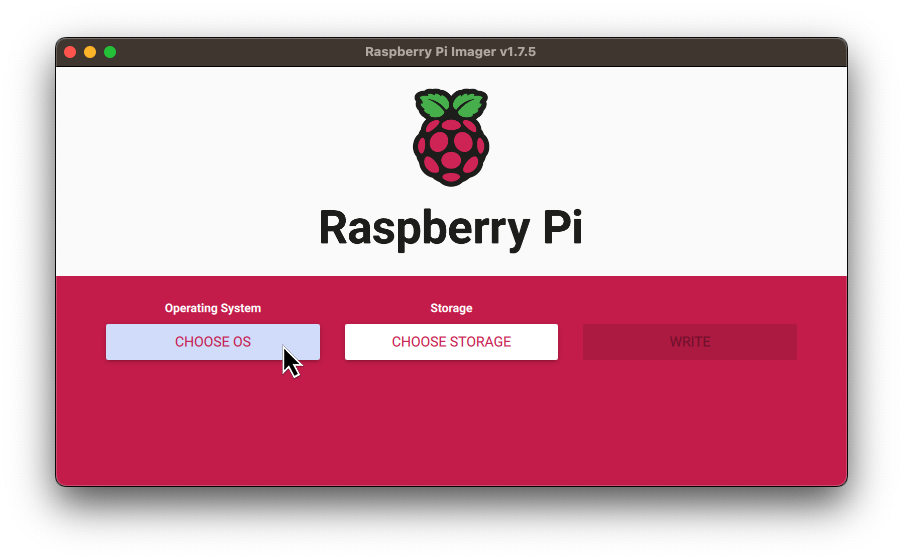
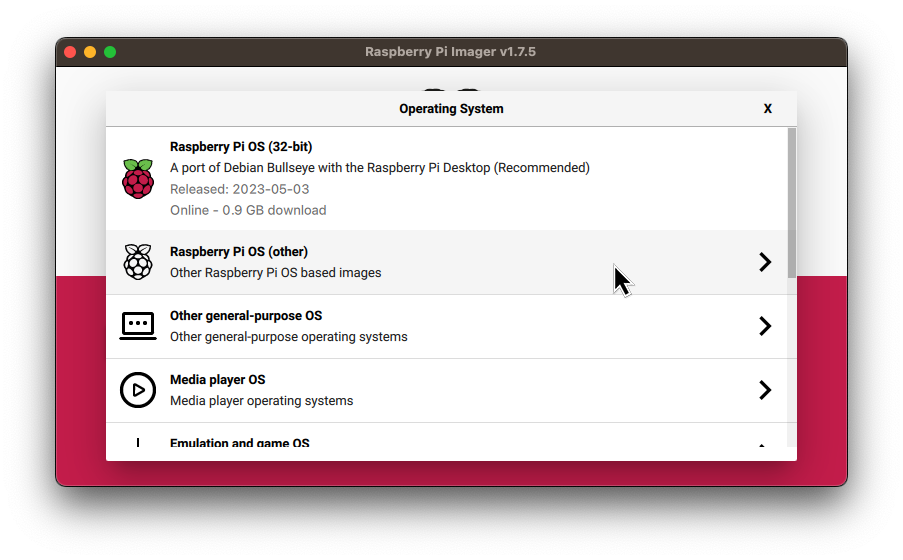
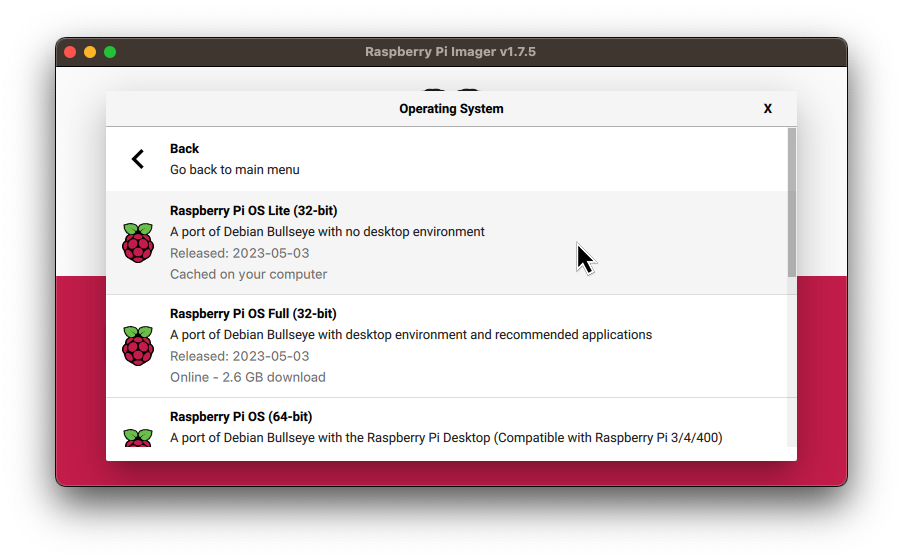
⚡️ Flashing the microSD Card
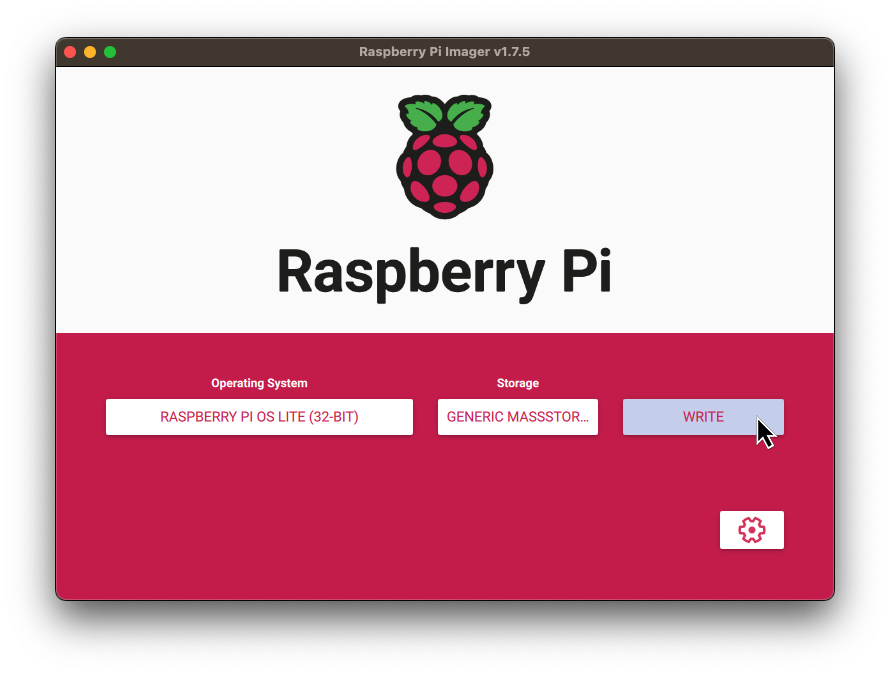
Download the Raspberry Pi Imager.
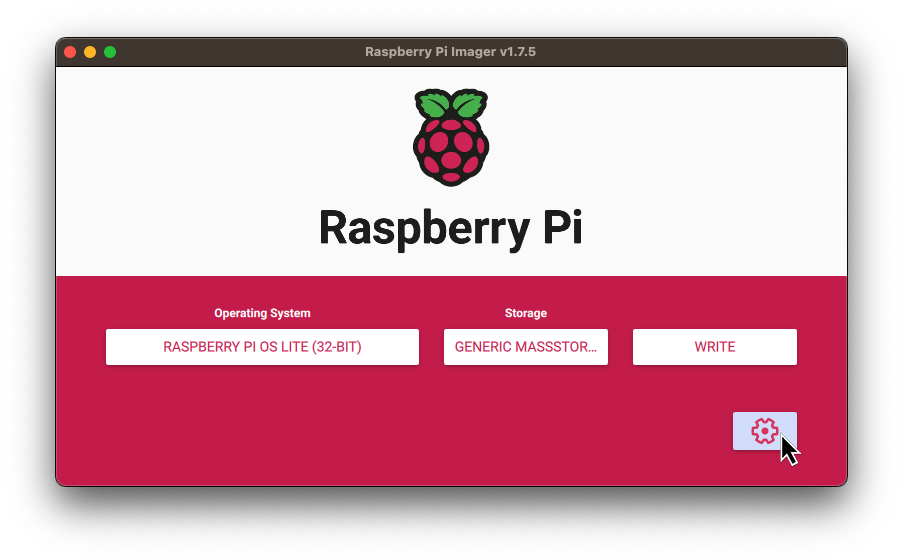
We want to install the headless (no desktop) version of the latest Pi OS:
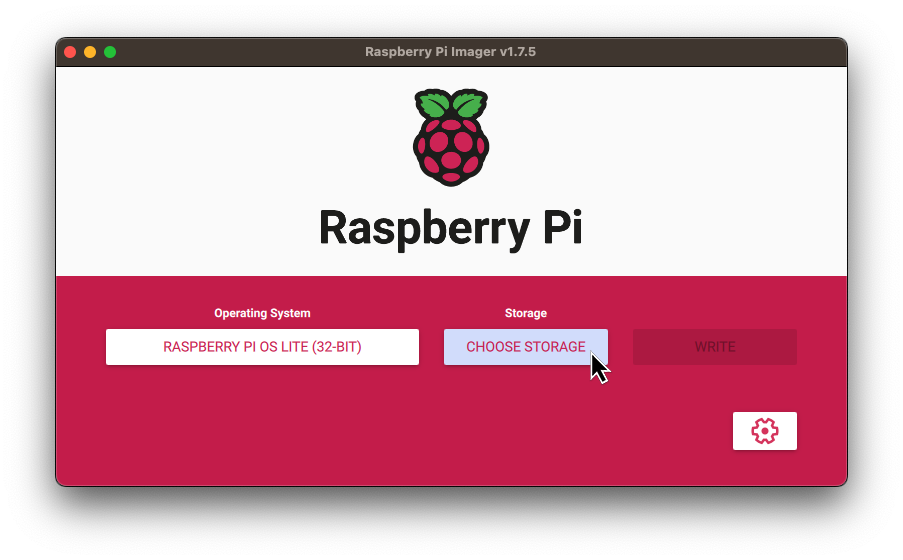
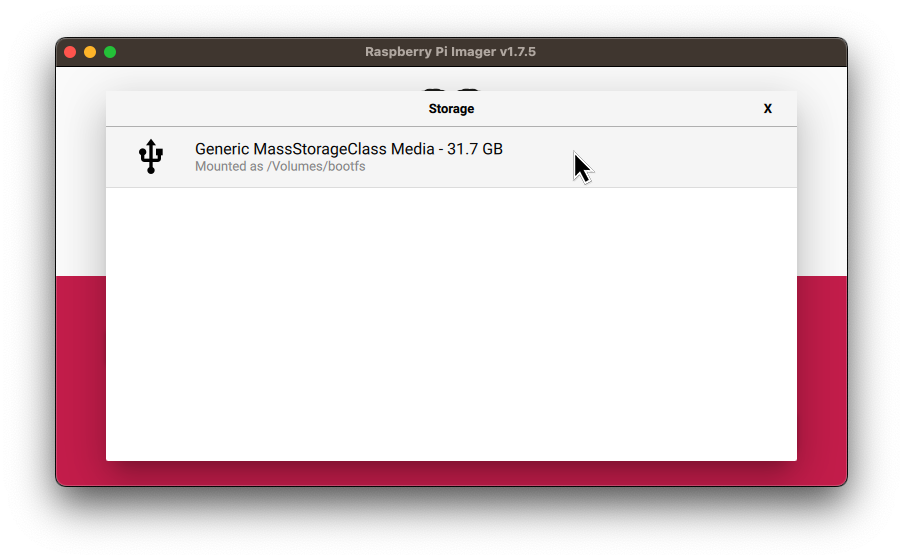
Insert and select the microSD card:
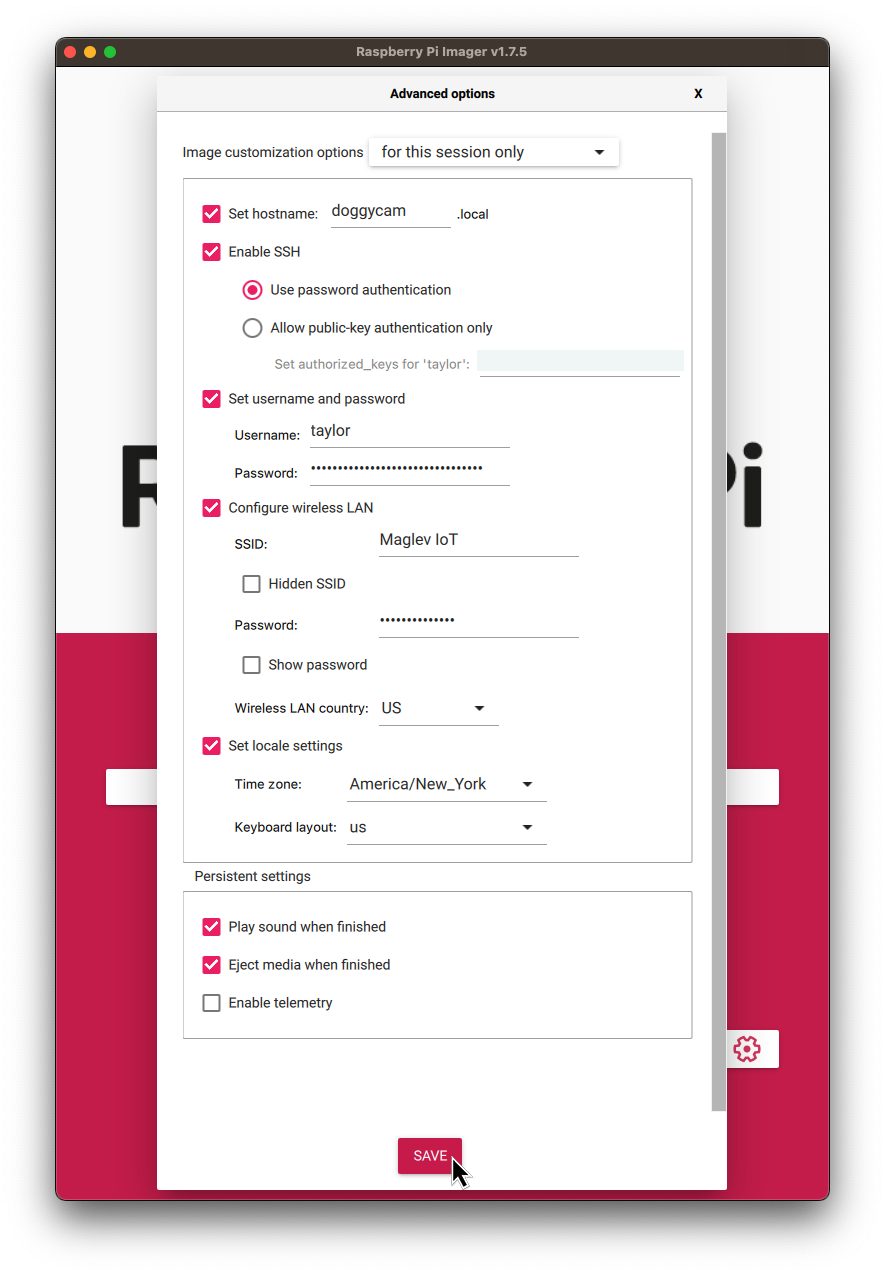
Next we’ll configure SSH access (username/pass) as well as setting the WiFi credentials:
I recommend setting the hostname to something unique and memorable, like doggycam:
After writing is complete, simply eject the SD card and insert it into the Pi Zero 2 W. Close the case and you’re now ready to mount it!
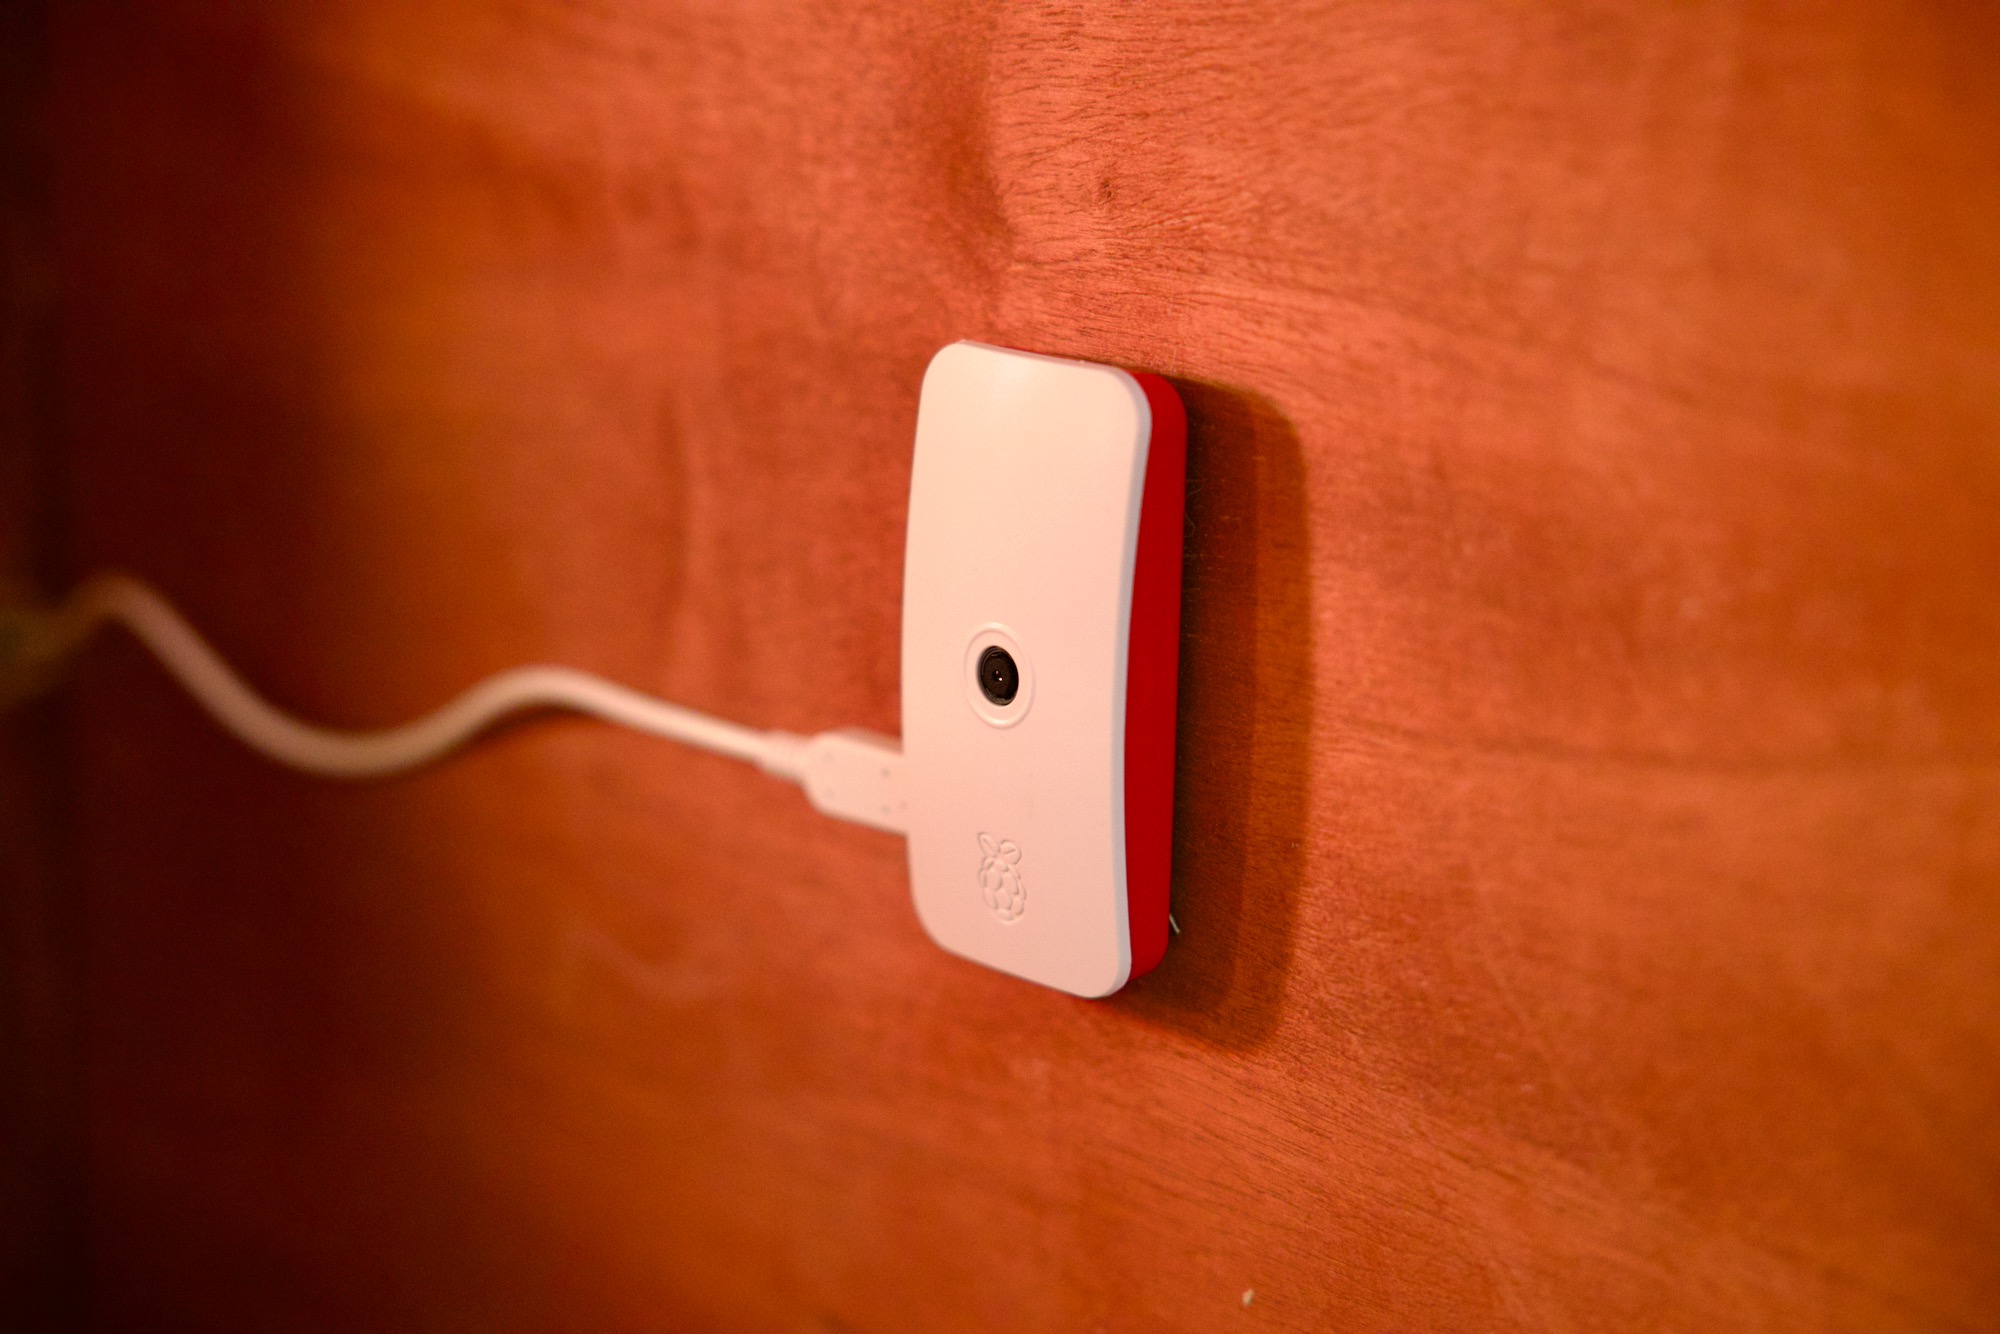
🪛 Mounting the Camera
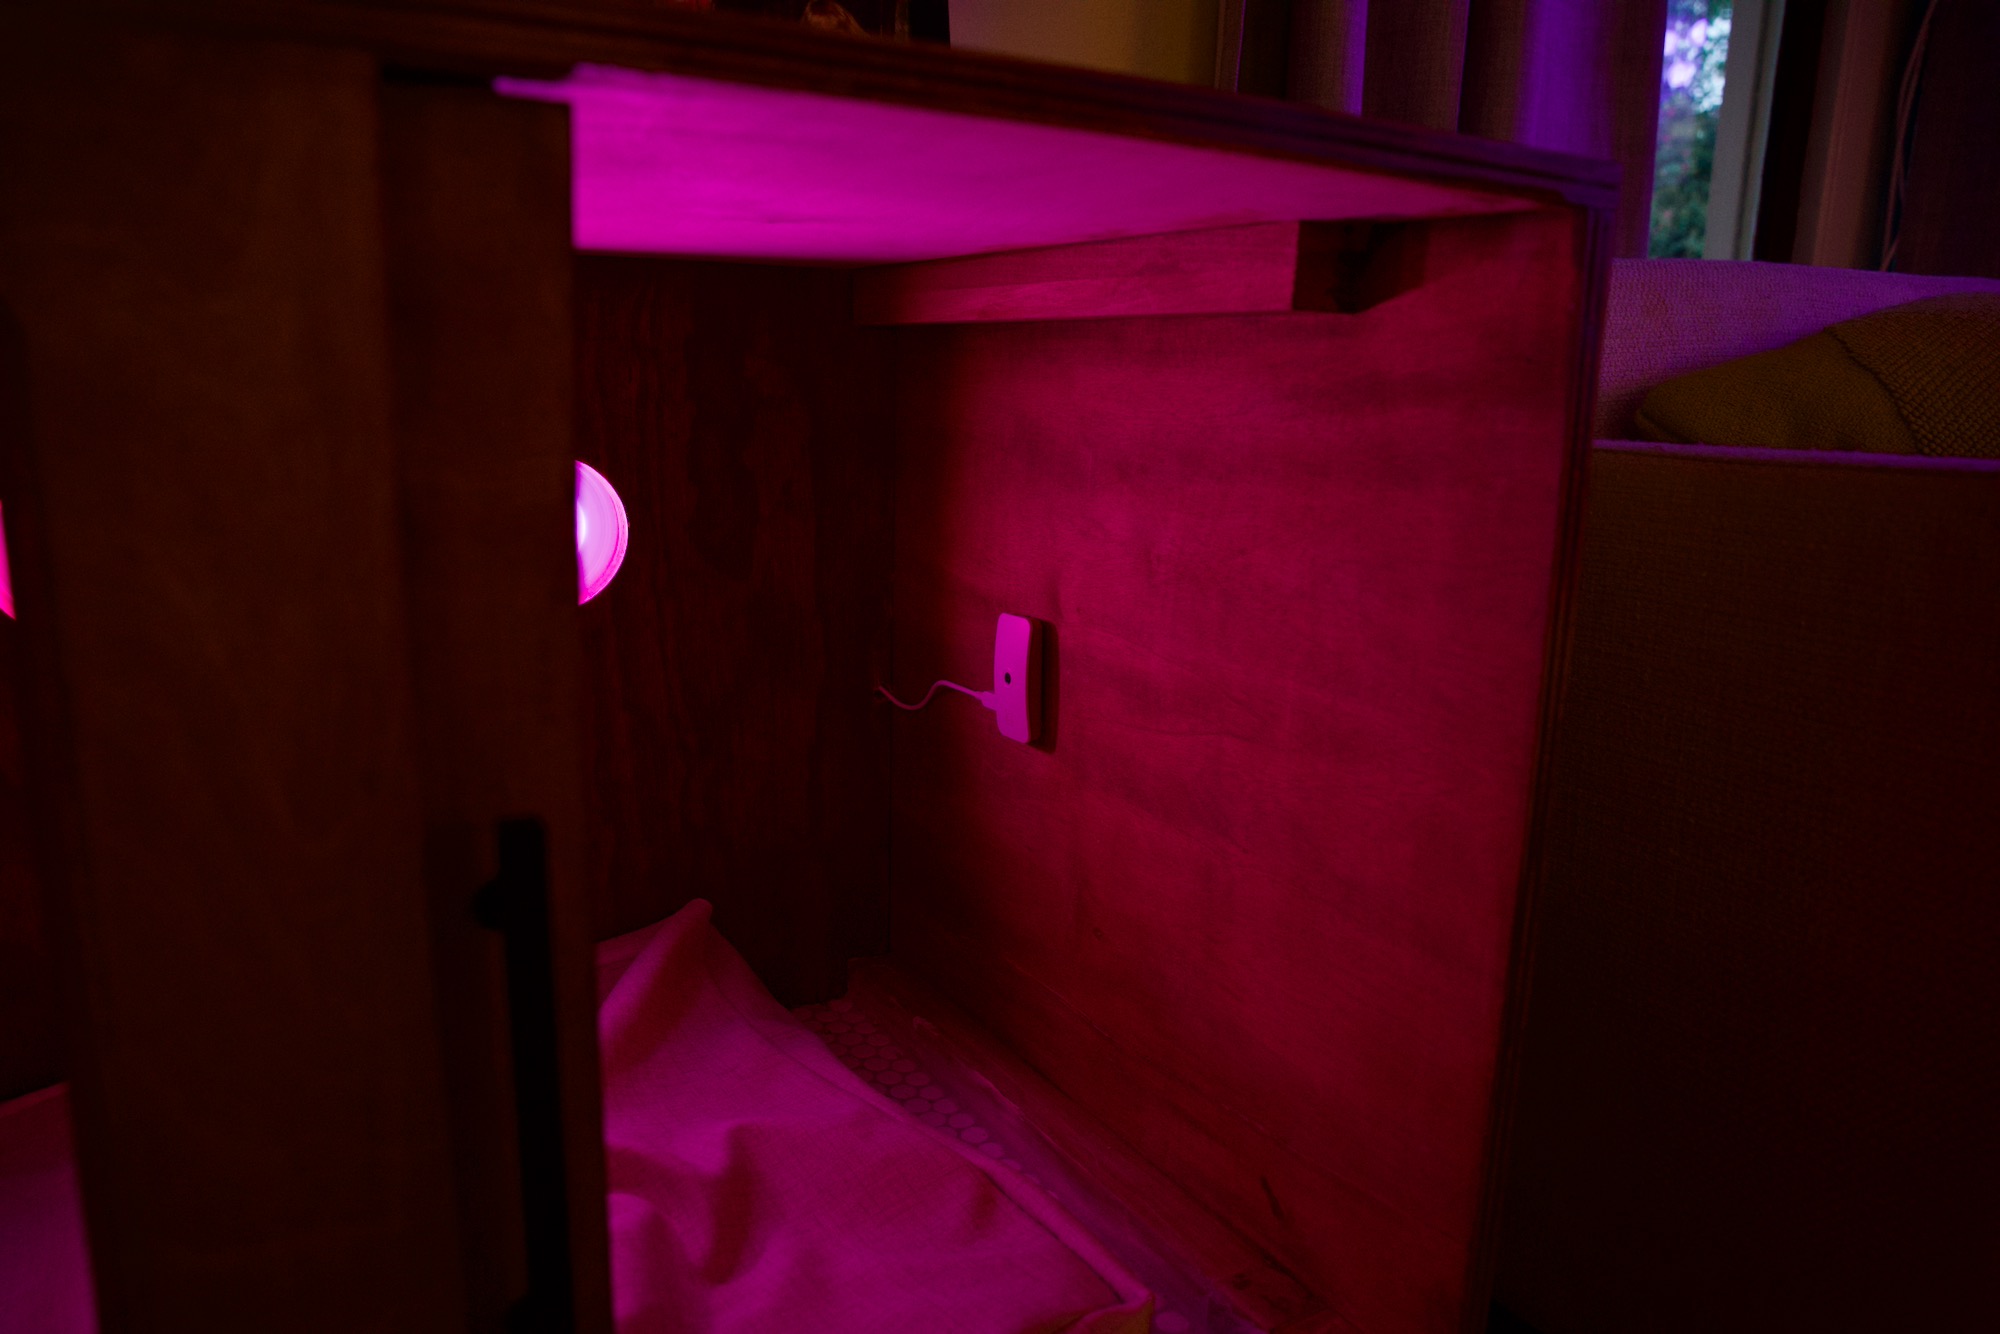
I used the 3M Mounting Tape to attach the camera to the inside wall of the dog house:
🛜 Finding the IP Address and Connecting
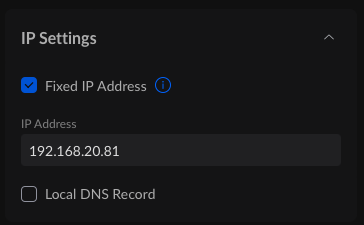
Open your router’s admin to see a list of connected devices. You want to identify the IP address of the Pi. You’ll notice in my router admin that it also says the hostname (doggycam) of the Pi.

I’d recommend fixing your Pi to that IP address so that it doesnt change. That way you have a static IP that you can use to log in with.
Now we need to connect to the Pi.
Open your Terminal and SSH into the Pi using the IP Address:
$ ssh taylor@192.168.20.81or using the hostname that you configured in the Raspberry Pi Imager:
$ ssh taylor@doggycam.local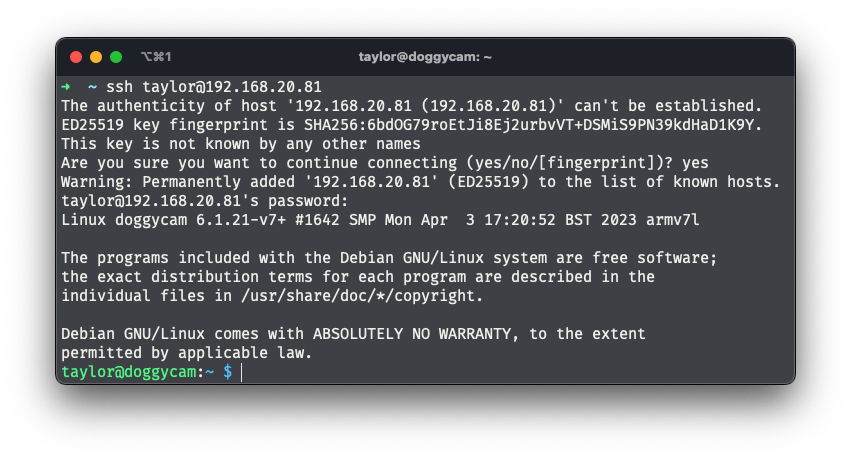
You’re now logged into your Pi Zero 2 W.
📸 Configuring the Camera
We need to enable “Legacy Camera Support” for the camera to work with the current version of Motion:
$ sudo raspi-cofig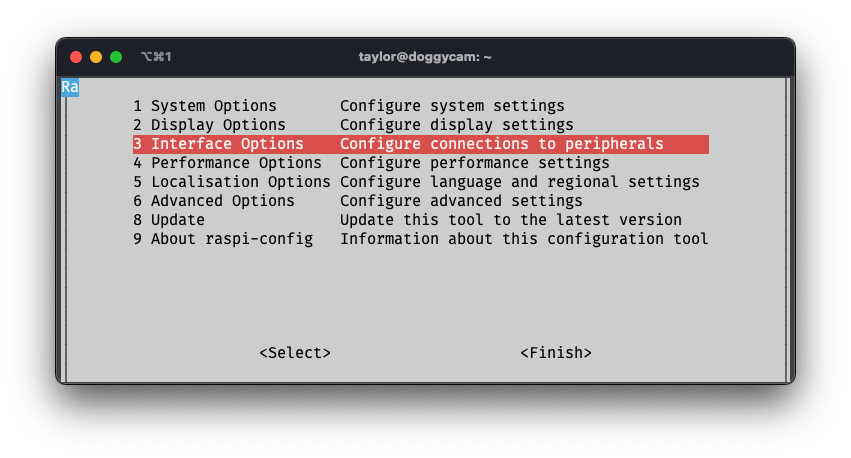
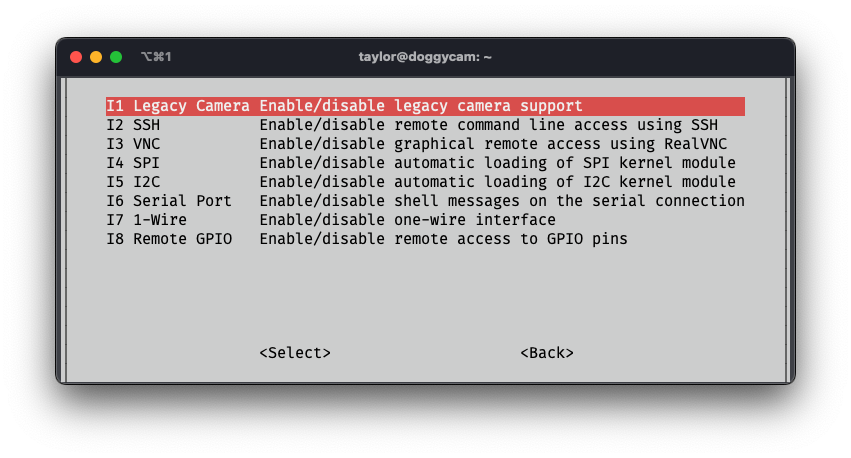
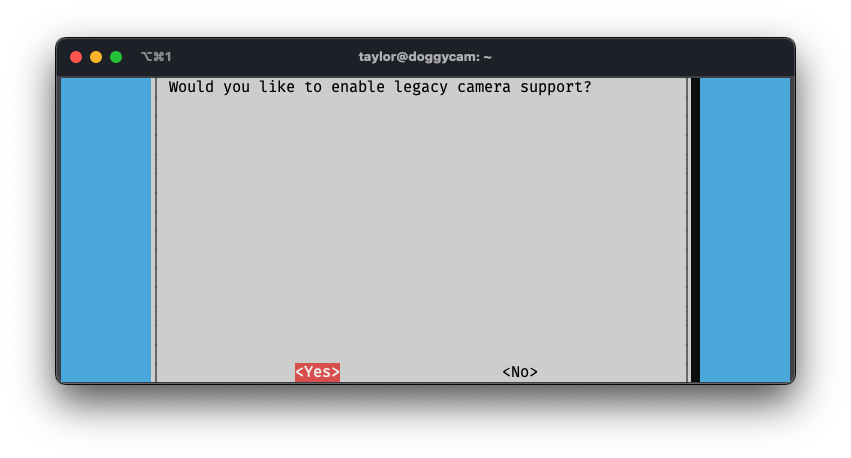
Hit enter to select Yes and click Finished to save changes and reboot the Pi.
🏃♂️ Setting up Motion
It’s best practice to always update your packages:
$ sudo apt update && sudo apt full-upgrade -yThen, install Motion:
$ sudo apt-get install motion -yNow that Motion is installed, we need to configure it.
$ sudo nano /etc/motion/motion.confIn the motion.conf file, you want to make the following changes:
- Change
daemon offtodaemon on - Change
width&heightto 1280 x 720 - Change
movie_outputtooff - set
stream_localhosttooff - add “
stream_maxrate 90” to the end of the file
You can see my entire motion.conf file here on Github.
Next, start Motion:
$ sudo motion🌄 Setting up Motion to Run on Boot
There are several ways to set up Motion to run on boot. I think the crontab approach is the easiest:
$ sudo crontab -eIn the text editor (select Nano if there are multiple options), add the following line to the crontab file and save it. If using the Nano editor, hit ctrl-X to save and exit.
@reboot /usr/bin/motion -b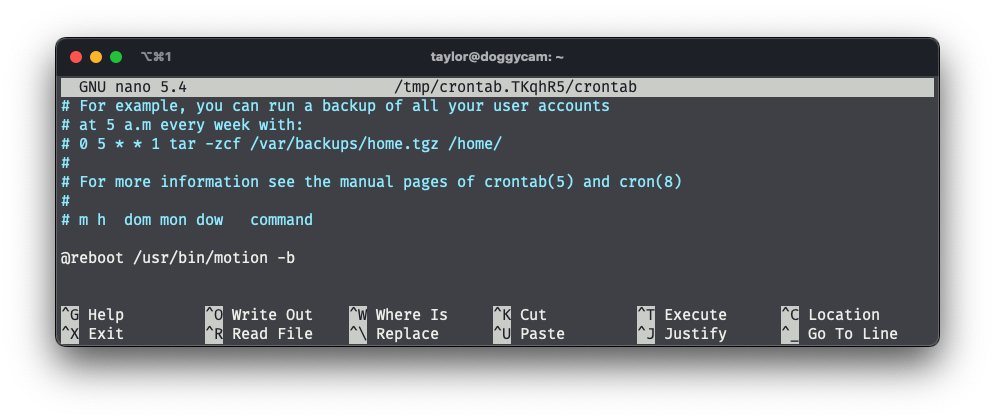
🔎 Viewing the Feed


🖥️ On Local Network
The feed will be available in your web browser at your Pi’s IP address and on port 8081:
http://192.168.20.81:8081
or:
http://doggycam.local:8081
🌎 Remotely
To view the feed from outside your home network, you’ll need to set up reverse DNS and port forwarding in your router admin. A tutorial to do that is outside the scope of this article and I encourage you to Google and find one that works for you.
✅ Done!
Optional –
🔦 Next Steps – Adding an IR Illuminator
The NoIR camera performs well in low light. To give it a boost of IR light, you can build or buy an IR Illuminator. Here’s one from Amazon: